
Last updated November 2, 2026
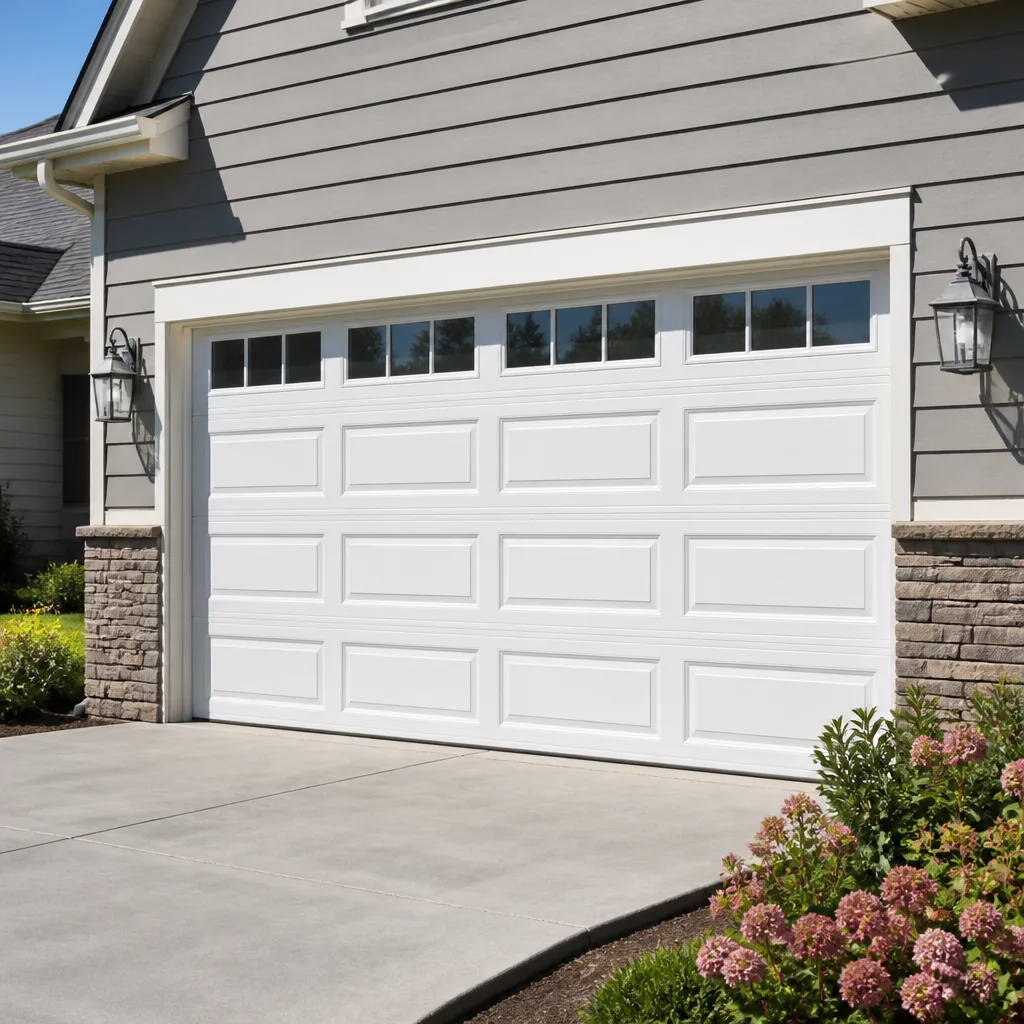 Raised-panel steel
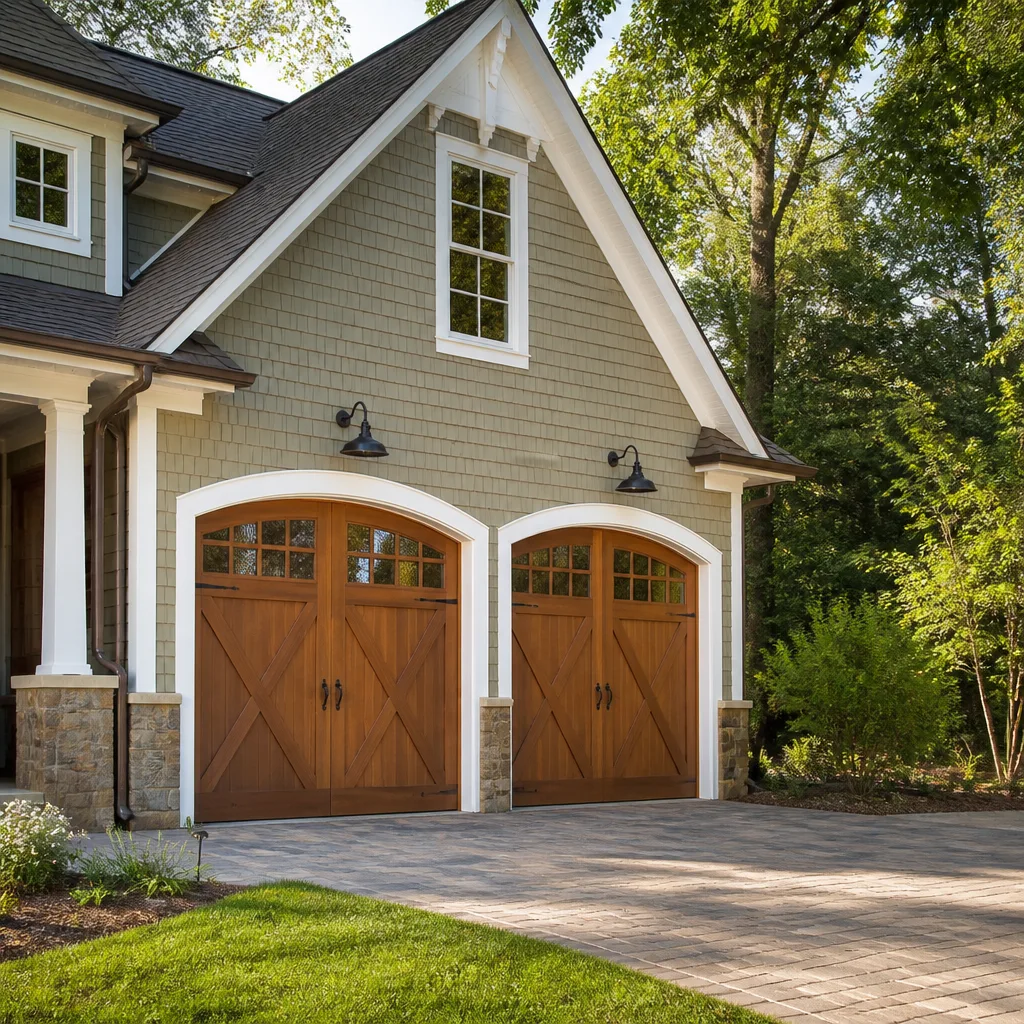 Carriage house
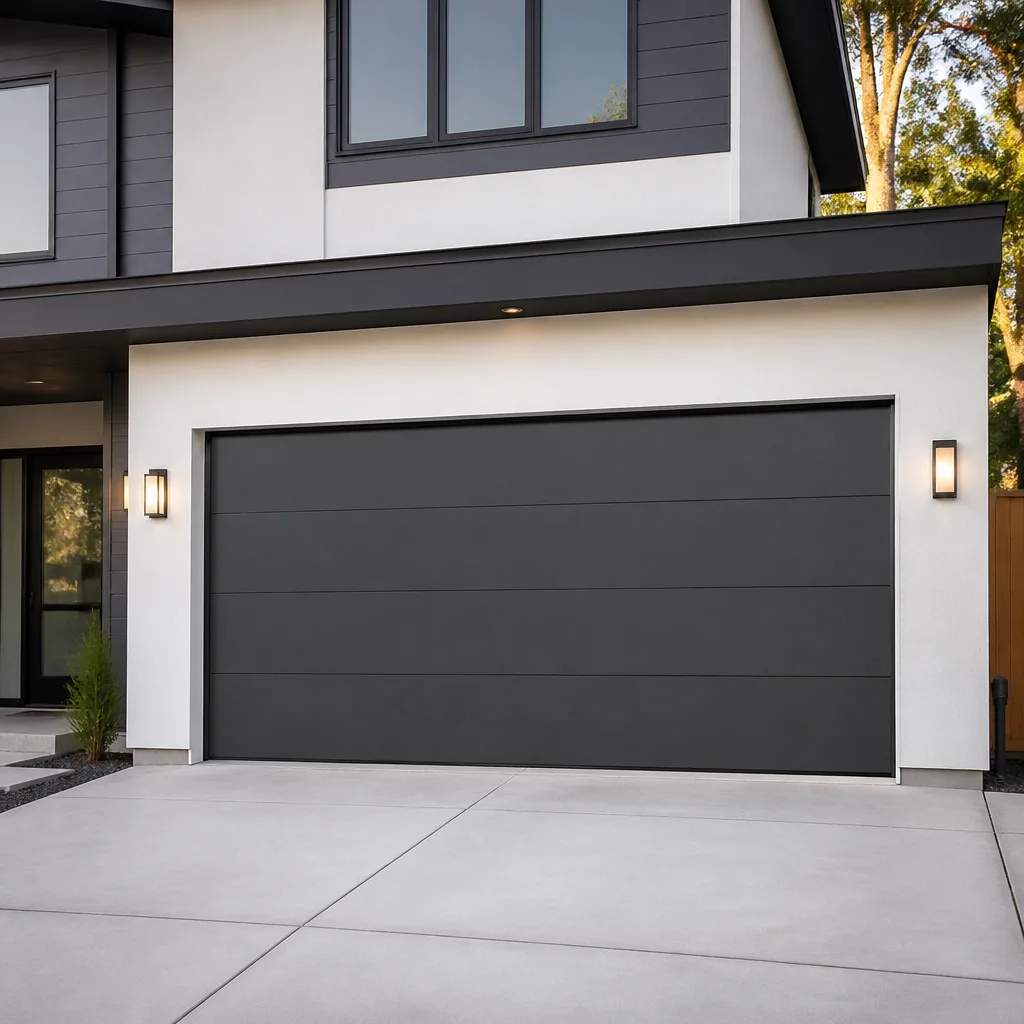 Modern flush
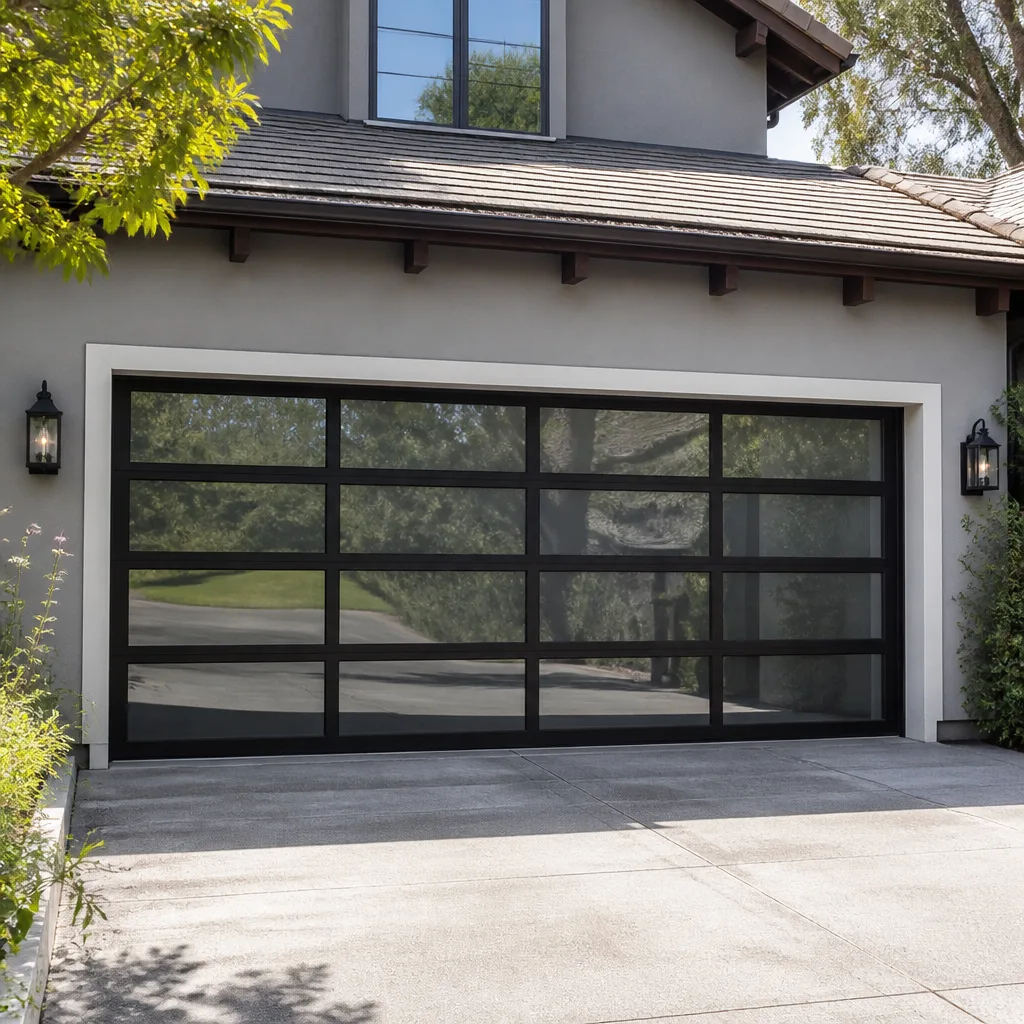 Full-view glass
 LiftMaster openers
 Chamberlain openers
Full 25-point door and opener safety check with every visit - springs, cables, rollers, tracks, and your LiftMaster or Chamberlain opener included
You get a price before we start. It does not change when the truck arrives.
Get your free estimateGarage Door Repair Troubleshooting: Common Problems and How to Fix Them
Blinking opener lights aren’t random error codes. They’re a structured language every major brand uses differently, and reading them correctly cuts diagnostic time in half before a technician ever shows up. Most troubleshooting guides send homeowners down the wrong path because they treat symptoms in isolation. A door that won’t close gets blamed on sensors when the real culprit is often a bent track throwing off alignment. This guide teaches pattern recognition, not a checklist. We’ve spent years in Sunnyvale garages learning how LiftMaster, Genie, Chamberlain, and Craftsman systems fail, and what we’ve found is that the most useful diagnostic tool isn’t a multimeter. It’s knowing what to listen for.
Quick Answer
Garage door troubleshooting starts with identifying whether the problem is mechanical (door, springs, tracks, cables) or electrical (opener motor, sensors, circuit board). Most homeowner-repairable issues involve sensor misalignment, obstruction interference, or travel limit settings, while spring failures, cable breaks, and stripped drive gears require our Garage Door Repair services. Read the symptom pattern carefully before touching anything. If the door involves a broken spring or a cable under tension, stop and call a pro.
Styles & brands we work with
- Raised-panel steel
- Carriage house
- Modern flush
- Full-view glass
- LiftMaster openers
- Chamberlain openers
Table of Contents
- Decoding Blink Codes: What Your Opener Is Actually Saying
- Three Failure Modes That Mimic Each Other
- Why “Works Sometimes” Is the Most Diagnostic Symptom
- The Safety Boundary: What You Can Check vs. What You Shouldn’t Touch
- Sound-Based Diagnosis: What Your Ears Tell You Before Your Eyes Do
- How to Document Symptoms Before Calling a Technician
- Common Mistakes to Avoid
- When to Call a Professional
- Frequently Asked Questions
Decoding Blink Codes: What Your Opener Is Actually Saying
Every major opener brand uses its LED lights as a diagnostic display, but the codes are not universal. A LiftMaster flashing four times means something entirely different from a Genie flashing four times. Learning your brand’s specific language means the difference between a five-minute fix and an hour of frustration.
LiftMaster and Chamberlain Blink Codes
LiftMaster and Chamberlain are built by the same parent company, so their codes overlap significantly. Here’s what the most common patterns mean:
- One flash: Sensor wiring problem. The door will close only if you hold the wall button down continuously.
- Two flashes: Sensor misalignment or obstruction. Check for debris, spider webs, or a loose mounting bracket.
- Four flashes: Sensor eyes are blocked or misaligned enough that the opener reverses immediately after touching the floor. This is the most common code we see in Sunnyvale garages where kids’ bikes and storage bins drift toward the door rails.
- Five flashes: Motor overheating. The thermal protection has tripped. Let it cool for 15 minutes and check for binding in the door travel.
- Six flashes: Circuit board failure. The logic board is not communicating with the motor.
Genie Blink Codes
Genie uses a different system. Red and green lights alternate to spell out specific conditions:
- Green steady, red off: Normal operation. Door is ready.
- Green blinking, red off: Door is in programming mode or the wall console is locked.
- Red blinking, green off: Safety beam obstruction. Check the sensor alignment at the bottom of the door tracks.
- Red and green both blinking: The opener senses an obstruction in the door travel. Look for a bent track section or a roller binding.
- Red steady: Opener control board fault. Power cycle first, then call if it persists.
Craftsman Blink Codes
Craftsman openers sold in the last 15 years are largely rebranded Chamberlain units, so the codes track with the LiftMaster-Chamberlain system above. Older Craftsman units from before 2010 used a simpler diagnostic: the opener light would flash once for every component failure detected. Anything beyond two flashes on a pre-2010 Craftsman usually means the logic board is failing.
The key takeaway on blink codes: your opener is not being mysterious. It’s telling you exactly which subsystem is unhappy. We bring this up in nearly every garage door opener repair in Sunnyvale call because homeowners who can read their codes give us a running start.
Three Failure Modes That Mimic Each Other
Here’s where most guides fail. They list symptoms in isolation and send you chasing one fix when the real problem is something else entirely. Three distinct failures produce nearly identical symptoms, and telling them apart comes down to sound, feel, and timing.
Sensor Misalignment
What it looks like: The door starts to close, then reverses and returns to fully open. The opener lights blink. The door won’t close without holding the wall button.
What it sounds like: Normal motor hum. The door moves at normal speed. No grinding, no hesitation.
The tell: The door reverses immediately or within a few inches of travel. If it reverses only near the floor, suspect sensors. If it reverses mid-travel, the problem is probably not the sensors.
Broken Torsion Spring
What it looks like: The door won’t lift at all, or lifts only a few inches before stopping. The opener strains and gives up.
What it sounds like: A loud bang when the spring broke, often described as a gunshot. After that, the opener motor runs but the door barely moves. If you disconnect the opener and try to lift the door by hand, it feels impossibly heavy.
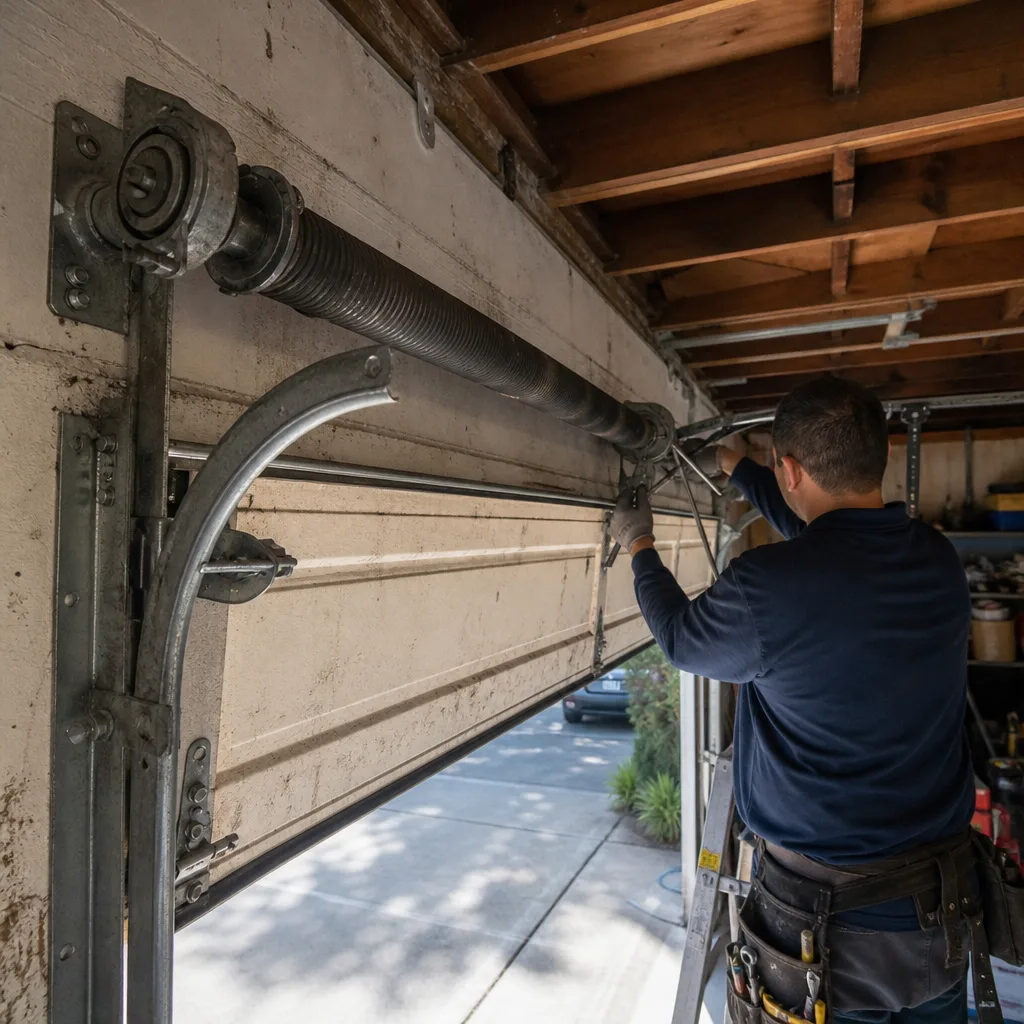
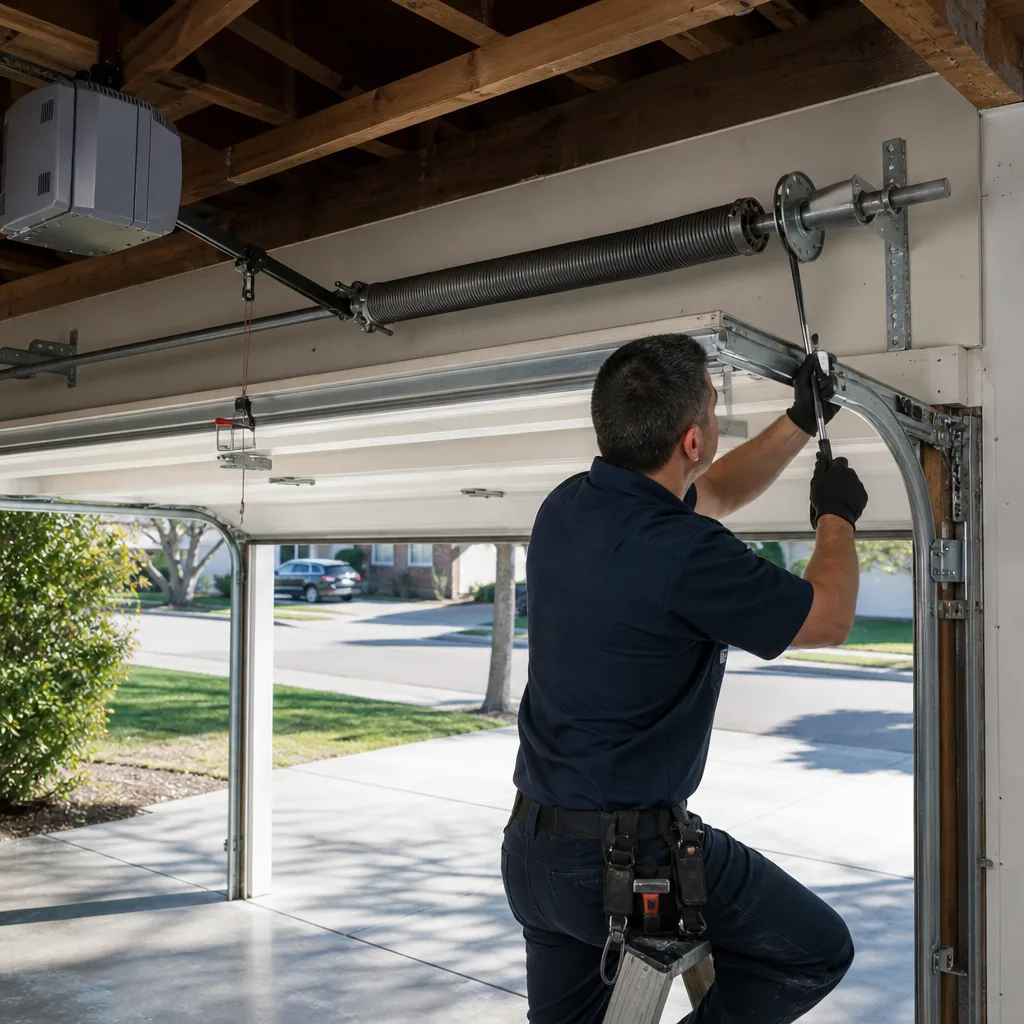
The tell: A visible gap in the torsion spring above the door. Stand in the garage and look up. If the spring has a clean break with a gap, that’s the problem. Do not attempt to fix a torsion spring yourself. The stored energy in that component can cause serious injury. This is a professional repair, period.
Stripped Drive Gear
What it looks like: The opener motor runs, but the door doesn’t move, or moves only slightly with a slipping sensation.
What it sounds like: The motor spins freely or makes a clicking sound. The chain or belt may twitch but doesn’t transfer motion to the door.
The tell: The opener motor is running, but the carriage or trolley isn’t moving. On chain-drive LiftMaster and Craftsman units, the nylon gear inside the motor housing strips over time, especially in Sunnyvale’s warm climate where plastic degrades faster. The fix is replacing the gear assembly, which is a job for someone who’s done it before.
These three failures rule out each other quickly once you know what to listen for. If the motor hums and the door moves, it’s not a stripped gear. If the door feels impossibly heavy when released from the opener, it’s not a sensor issue. Pattern recognition beats checklist-chasing every time.
Why “Works Sometimes” Is the Most Diagnostic Symptom
An intermittent garage door is the most frustrating problem a homeowner faces, and it’s also the most informative. A door that fails every time has an obvious defect. A door that fails occasionally is telling you something is wearing out, not broken. Here’s what intermittent patterns reveal.
Fails Only in Cold Weather
In Sunnyvale, cold weather is relative, but early mornings in winter still drop enough to change how metal and lubricant behave. If your door struggles only on cold mornings, the likely culprits are:
- Thickened grease in the tracks or rollers: Old lubricant hardens when cold and adds resistance.
- Spring fatigue: Springs lose tension as they age. A spring near the end of its life may perform in warm weather and fail in cold.
- Battery degradation in wireless sensors: Cold reduces battery output. If your sensors only act up in the morning, replace the batteries before anything else.
Fails Only When the Sun Hits the Sensors
Direct sunlight on safety sensors is a classic intermittent failure. The infrared beam gets washed out by sunlight, and the opener thinks something is blocking the path. This shows up at specific times of day when the sun angle hits the sensor eye directly. The fix is simple: shade the sensor with a cardboard tube or adjust the mounting angle slightly. This is common in west-facing Sunnyvale garages in late afternoon.
Fails After Several Consecutive Cycles
If the door works fine for two or three open-close cycles, then starts acting up, look at:
- Motor overheating: The thermal protection circuit trips after sustained use. Let it cool and it works again. That’s a warning sign that something is increasing motor load, usually binding rollers or a track issue.
- Capacitor degradation: The start capacitor in the opener motor weakens over time. It can handle one start, but struggles on repeated starts.
- Logic board heat sensitivity: Circuit boards expand and contract with heat. A solder joint that’s cracked may connect when cold and disconnect when warm.
Fails Only With the Remote, Never the Wall Button
This narrows the problem to the wireless signal path. Check the antenna wire on the opener, replace the remote battery, and consider whether a new LED bulb in the opener or garage is interfering with the radio frequency. Cheap LED bulbs are notorious for emitting RF noise that blocks garage door remotes. If you recently changed a bulb and your remote stopped working, swap the bulb back and see if the problem clears.
Every one of these intermittent patterns points to a specific subsystem. We run through this exact logic on repair calls across Sunnyvale because a door that “sometimes doesn’t work” is a door that’s going to stop working eventually. The question is whether you catch the wear item before it becomes a failure.
The Safety Boundary: What You Can Check vs. What You Shouldn’t Touch
Garage doors are the heaviest moving object in most homes. A standard double door weighs 150 to 250 pounds, and the springs that counterbalance that weight store enough mechanical energy to cause serious injury if released improperly. Here’s a clear breakdown of what’s safe for homeowner inspection and what crosses the line into professional territory.
Safe to Check Yourself
- Sensor alignment and cleanliness: Wipe the sensor lenses with a dry cloth. Check that the brackets are tight and the two units face each other squarely.
- Obstructions in the track: Look for debris, spider webs, or small objects that have fallen into the track channel.
- Remote batteries and wall button operation: Replace batteries. Test the wall button separately from the remote to narrow the problem.
- Balance test with the opener disengaged: Pull the release cord and lift the door by hand. A properly balanced door lifts smoothly with moderate effort and stays in place about three feet off the ground. If it drops or slams, the springs are failing and need professional attention.
- Visual inspection of rollers, hinges, and cables: Look for cracked rollers, loose hinges, or cables that appear frayed. Don’t touch the cables.
- Weather seal and track cleanliness: Clean the tracks with a dry rag. Don’t use lubricant on the track itself, only on the rollers and hinges.
Requires a Professional
- Torsion spring replacement or adjustment: The spring above the door is wound under extreme tension. A single mistake releasing that tension can cause severe injury. This is the most dangerous component in the entire system.
- Cable replacement or re-threading: Cables work in concert with springs. A snapped cable means the spring tension is no longer balanced, and working on cables without proper tools and training is extremely hazardous.
- Track realignment or replacement: Bent tracks require specialized tools to straighten or replace. Hammering on a track while the door is attached can dislodge the door or damage the rollers.
- Opener circuit board repair: Logic boards handle line voltage and motor control. Diagnosing and replacing them safely requires electrical knowledge.
- Any repair involving the bottom bracket: The bottom bracket attaches the lift cables to the door. Those cables are under spring tension, and removing the bracket without releasing tension properly is dangerous.
We work on what you already have. If your LiftMaster, Chamberlain, Genie, or Craftsman opener is acting up, our technicians arrive knowing the brand before they ring the bell. But we’d rather talk you through the safe checks first. A homeowner who knows what they’re looking at makes better decisions about when to call.
Sound-Based Diagnosis: What Your Ears Tell You Before Your Eyes Do
Most troubleshooting guides are visual. But garage doors announce their problems in sound long before they show them visually. Here’s what specific noises mean.
Squealing or Screeching
A high-pitched squeal is almost always a roller or hinge that needs lubrication or replacement. If the noise is constant throughout the door’s travel, it’s a roller. If it’s isolated to one section of travel, it’s likely a hinge or track section at that point. Metal rollers squeal when their bearings dry out. Nylon rollers are quiet until they crack, then they click. A belt-drive opener that squeals is usually a tensioner pulley issue.
Grinding
Grinding means metal on metal contact. On chain-drive openers like most LiftMaster and Craftsman models, a grinding sound from the motor housing means the nylon drive gear is stripping. That gear is sacrificial by design. It strips instead of destroying the motor, but it needs replacement once it starts shaving teeth. Grinding from the door itself usually means a roller has seized and is being dragged along the track.
Banging or Popping
Sectional doors pop when they flex under the force of the opener, especially if the door is old and the section joints are loosening. A loud bang that happens once and never again is usually a spring snapping. After that bang, the door won’t move properly. A repeated banging during travel is often the door hitting a track obstruction or a roller jumping out of alignment.
Rattling
Rattling is loose hardware. Nuts and bolts on the track brackets, hinge plates, and door sections vibrate loose over years of cycles. Walk the door and tighten every bolt you can reach with a socket wrench. Don’t overtighten. For rattle that persists after tightening, check the opener mounting brackets and the door’s strut attachments.
Humming Without Movement
A deep hum with no door movement is the classic stripped gear or disconnected trolley symptom. The motor is running, but it’s not transferring force to the door. On a belt-drive opener, this can also mean the belt has lost tension or snapped. If the motor hums and the chain or belt moves but the door doesn’t, the trolley has likely become disconnected from the carriage. After pulling the red release cord, the trolley slides freely and may need to be re-engaged by pressing the wall button.
How to Document Symptoms Before Calling a Technician
Here’s what separates a good service call from a frustrating one: the homeowner who can describe the problem precisely. Before you call anyone, run through this list and write down what you observe. The goal is to give the technician enough information to arrive with the right parts.
- Note the exact symptom: “The door reverses after closing 6 inches.” Not “the door is broken.” Specific measurements help.
- Count the opener light flashes: Write down the number and color of any blinking lights on the opener unit itself.
- Record the sounds: Describe what you hear when the door tries to operate. Use the categories from the section above: squealing, grinding, banging, rattling, humming.
- Note when the problem occurs: Time of day, temperature, after how many cycles. Does the remote work but not the wall button? Does it fail only after the car has been parked outside in the sun?
- Identify your opener brand and model: The model number is often printed on a label on the opener housing. Knowing whether it’s a LiftMaster, Genie, Chamberlain, or Craftsman unit matters because parts and failure patterns differ by brand.
- Check the door’s balance: Disconnect the opener and lift by hand. Note whether it feels heavy, rises easily, or won’t stay in place.
- Photograph the setup: Photos of the spring configuration, track condition, and opener model help a technician prepare before arriving.
- Describe what you’ve already tried: If you replaced the remote battery, say so. If you adjusted the sensors, mention it. This prevents the technician from repeating your troubleshooting and saves diagnostic time.
On our garage door repair calls in Sunnyvale, the customers who document symptoms this way get faster resolution. Our technicians arrive knowing the opener brand, the failure pattern, and which parts are likely needed. That’s the difference between one visit and two.
Common Mistakes to Avoid
- Replacing the sensors before checking alignment. Misaligned sensors account for more “sensor failures” than actual defective units. If the sensor light is off or blinking, check the bracket before buying replacements.
- Lubricating the track. Grease on the track attracts dust and creates sludge. Lubricant belongs on the rollers, hinges, and springs, never on the track channel itself.
- Continuing to operate the door after hearing a loud bang. That bang is a spring failure. Every additional cycle puts more strain on the opener and the second spring, and a door that’s partially supported can fall suddenly.
- Replacing the remote battery when the wall button also fails. If both the remote and the wall button fail, the problem is not the remote battery. Check the opener power source and circuit board.
- Adjusting the travel limits without noting the original settings. Limit adjustment knobs turn easily, and once you change the setting, it’s hard to know where it started. Mark the original position before adjusting.
- Ignoring intermittent symptoms until they become permanent. An intermittent problem is a wear item giving you warning. Address it before the part completes its failure, especially in a Sunnyvale garage where temperature swings accelerate component fatigue.
- Watching YouTube tutorials for torsion spring repair. Torsion springs have injured and killed people attempting DIY fixes. This is the one component where the risk-to-savings ratio is indefensible.
When to Call a Professional
Call a professional when the problem involves stored mechanical energy: broken springs, damaged cables, or bottom bracket repairs. Call when the opener motor runs but the door doesn’t move, because that means something in the force transfer chain has failed. Call when you’ve done the safe checks and the problem persists or is intermittent in a way you can’t localize. And call when the door is old enough that you’re not sure whether a repair or a garage door installation in Sunnyvale is the better investment. We’ll give you a straight diagnosis and clear options. Commodore Garage Door Repair offers free estimates in Sunnyvale. Call (877) 358-3130 and we’ll walk through the symptoms with you before scheduling anything.
Frequently Asked Questions
A door that reverses only after touching the floor usually has a travel limit set too far, meaning the opener thinks the floor is an obstruction. On LiftMaster and Chamberlain units, adjust the down travel limit slightly. If the door reverses before touching the floor, check the sensor alignment and clean the lenses. Sunlight interference can also cause false obstruction readings on west-facing doors in Sunnyvale during afternoon hours.
Look above the door while it’s closed. A broken torsion spring shows a visible gap in the coil. If you heard a loud bang and the door now feels impossibly heavy when you try to lift it by hand, that’s a spring failure. Do not operate the door or attempt a fix. Call a professional immediately. This is the most dangerous repair in the garage door system.
You can replace the entire opener unit if you’re comfortable with basic wiring and have a helper to hold the motor while mounting. But replacing the internal motor or drive gear inside the housing is more involved, especially on chain-drive LiftMaster and Craftsman units where the gear is pressed onto the shaft. If you’re replacing a worn nylon gear, order the correct part for your model and follow the manufacturer’s assembly sequence. If in doubt, a professional can do it in under an hour.
This points to the wireless signal path. Start with the remote battery, then check the antenna wire hanging from the opener. Make sure it’s not folded or touching metal. Then look for recently installed LED bulbs in the opener or garage. Some LED bulbs emit RF interference that blocks the remote signal. Swap the bulb and test. If the remote still fails, the opener’s receiver board may need replacement.
Repair costs in Sunnyvale vary by component and brand. Sensor replacement typically runs $85 to $150. Drive gear replacement is $150 to $250. Spring replacement for a standard double door starts around $250 and goes up with spring size and cycle rating. Opener replacement starts around $350 and varies by brand and features. Every quote includes parts and labor, and the price is always quoted and agreed before any work starts. Call (877) 358-3130 for an exact estimate on your specific issue.
Repair when the failure is a single component on an otherwise sound door: a spring, a cable, a gear, a sensor. A well-maintained door can last 20 years or more. Replace when the door panels are rusted through, the frame is bowed, or you’re stacking multiple repairs on a door from the 1980s. We work on what you already have, and we’ll tell you honestly when repair no longer makes financial sense. Our technicians are diagnosed across Clopay, Amarr, Wayne Dalton, and Raynor doors, so the advice is based on your specific setup, not a sales script. Visit the Commodore Garage Door Repair home page to see the full scope of what we handle.
The Bottom Line
Garage door troubleshooting is not about memorizing a checklist. It’s about learning to read patterns. Blink codes tell you which subsystem is failing. Sounds tell you which component is wearing. Intermittent failures tell you what’s degrading before it breaks completely. The safety boundary tells you where your inspection ends and a professional’s begins. For additional help, explore more guides & resources on our blog. Most importantly, knowing how to document what you observe means the technician shows up prepared, with the right parts and the right diagnosis on the first visit. We work on what you already have, across eight major brands, and we treat the door and the opener as one integrated system. One call covers both.
Written by the team at Commodore Garage Door Repair, serving Sunnyvale since 2015.
See the difference
 Before
 After
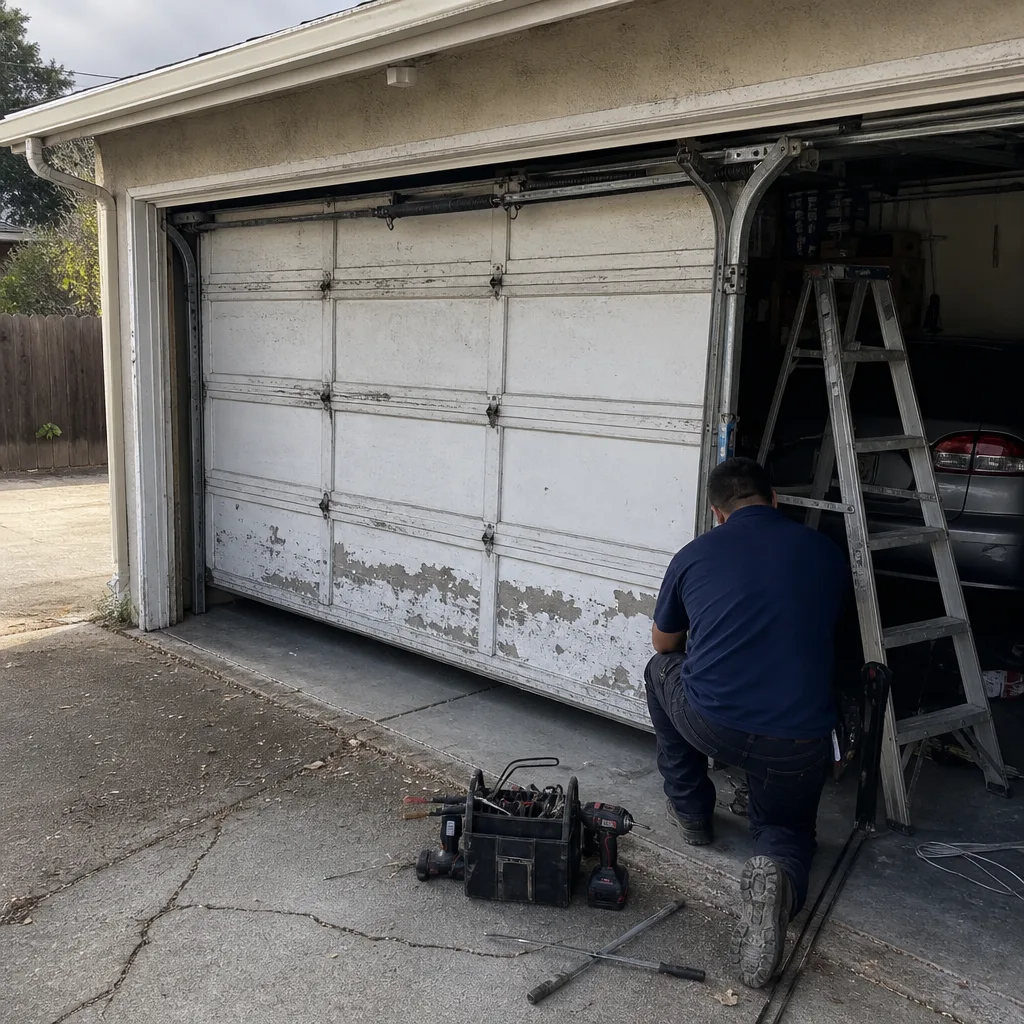 Before
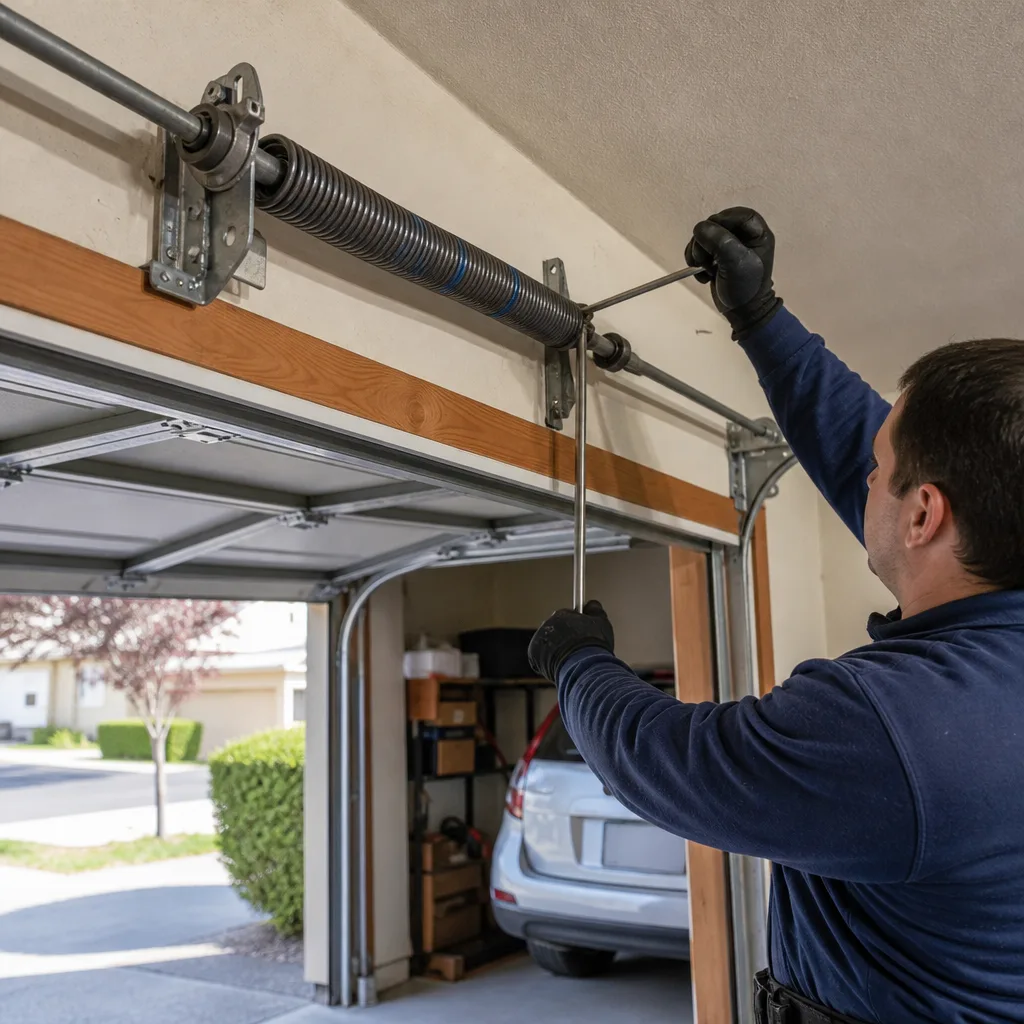 After
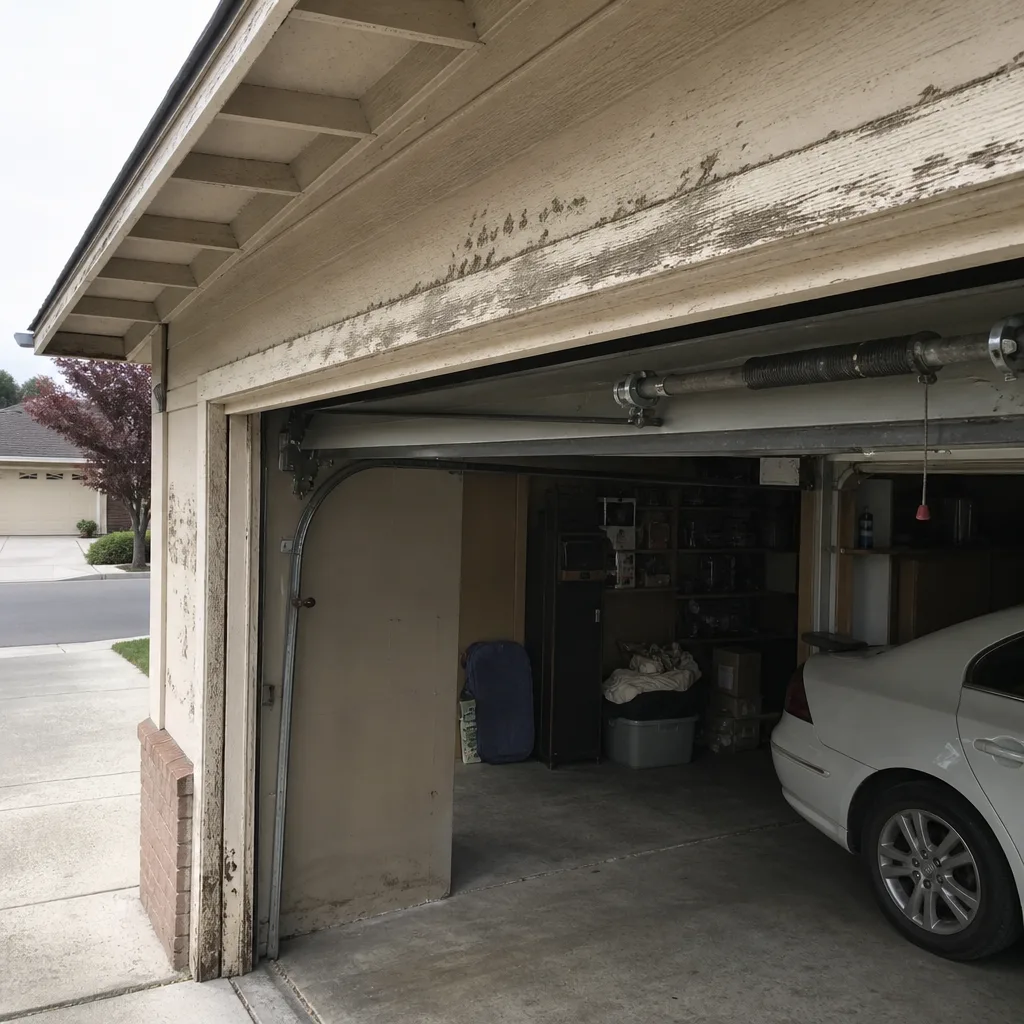 Before
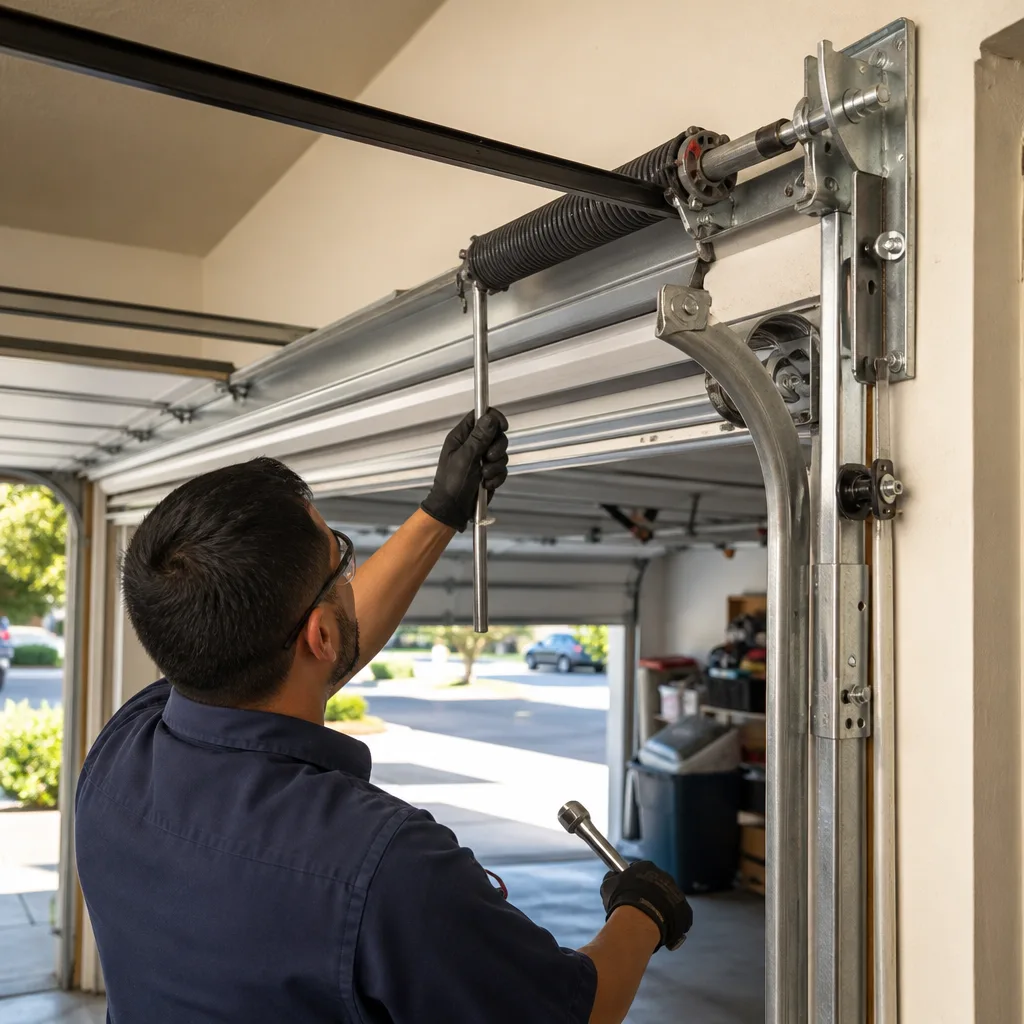 After