
Last updated November 2, 2026
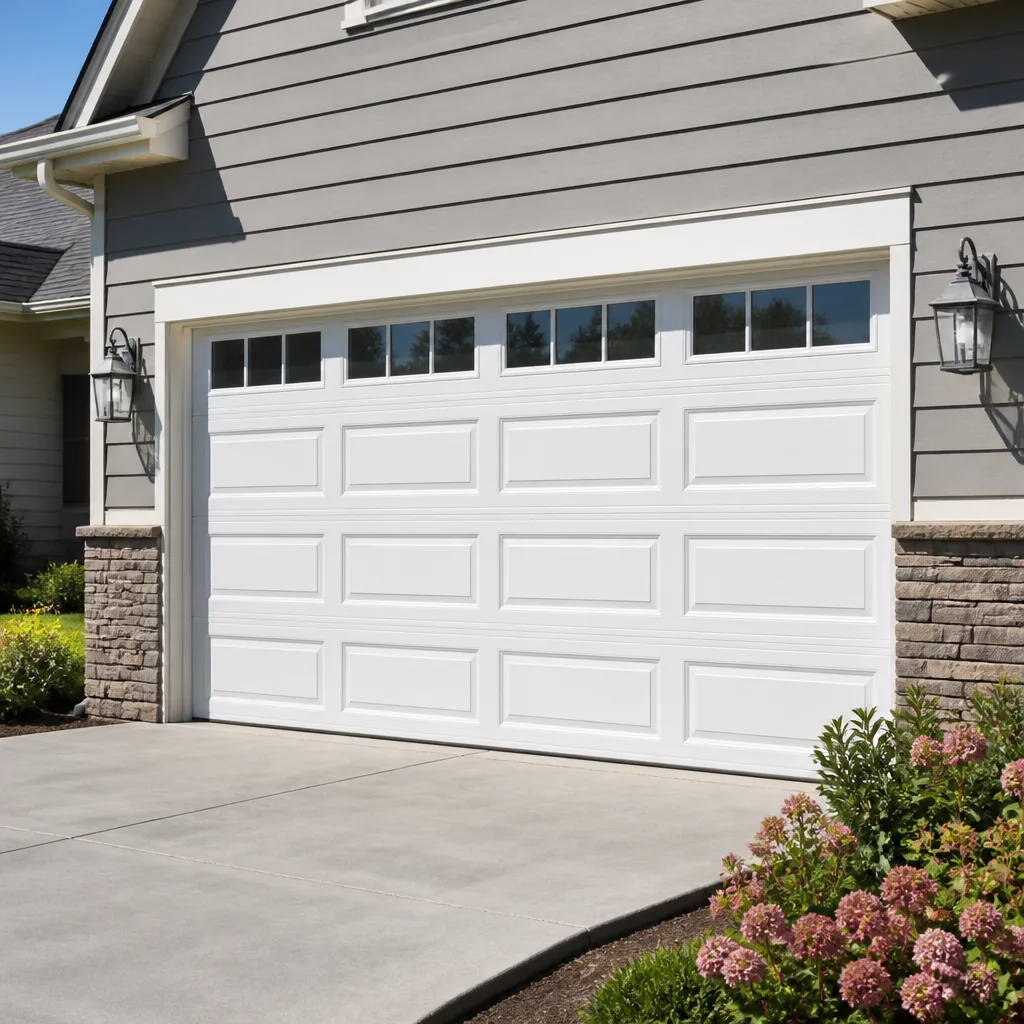 Raised-panel steel
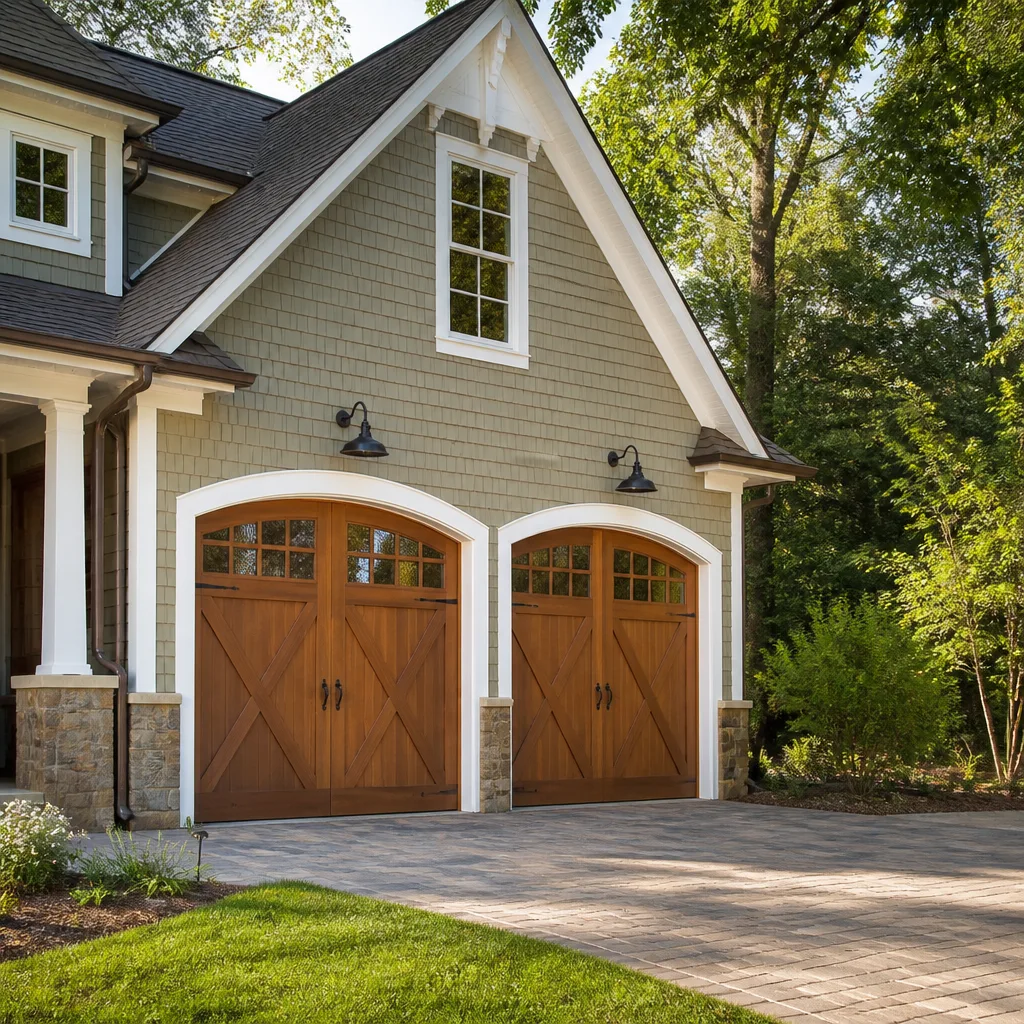 Carriage house
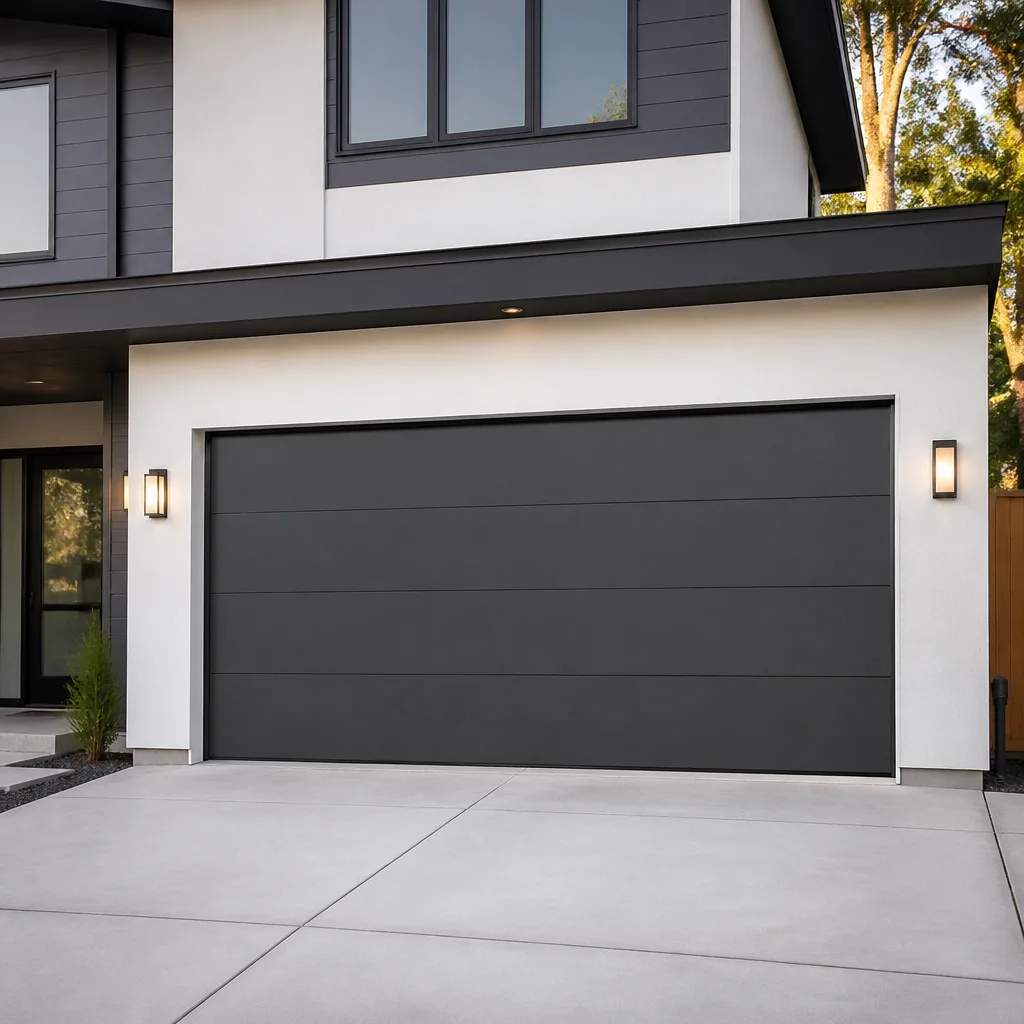 Modern flush
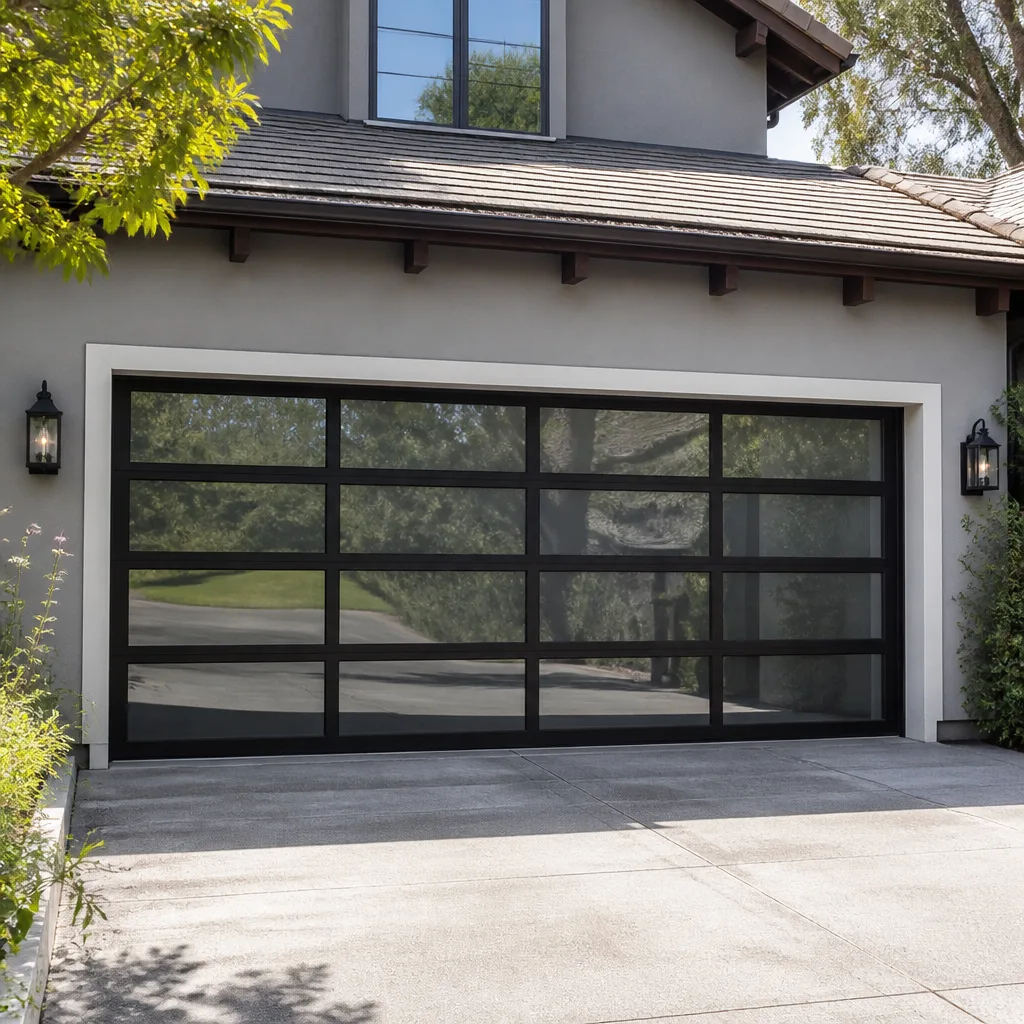 Full-view glass
 LiftMaster openers
 Chamberlain openers
Full 25-point door and opener safety check with every visit - springs, cables, rollers, tracks, and your LiftMaster or Chamberlain opener included
You get a price before we start. It does not change when the truck arrives.
Get your free estimateGarage Door Repair Maintenance Checklist for Sunnyvale Homeowners
Most garage door maintenance checklists floating around the internet were written by people who have never replaced a torsion spring or diagnosed a failing logic board. They tell you to “lubricate moving parts” without mentioning that petroleum-based sprays will destroy nylon rollers on contact. This guide is different. It’s built in diagnostic order, the same sequence a technician follows when they show up to a Sunnyvale home: what fails first, what those failures hide, and what actually prevents a 2 a.m. breakdown when your car is stuck inside the garage.
Quick Answer
A garage door maintenance checklist for Sunnyvale homeowners should follow diagnostic order: inspect and lubricate rollers and hinges first (they fail fastest), test spring balance second (it reveals hidden tension issues), check safety sensors and opener force limits third, then clean and seal the bottom and side weatherstripping last. Run this sequence every 4 months, and you’ll catch most failures before they strand you.
Styles & brands we work with
- Raised-panel steel
- Carriage house
- Modern flush
- Full-view glass
- LiftMaster openers
- Chamberlain openers
Table of Contents
- The Lubricant Matrix: What Actually Goes Where
- The Balance Test as a Diagnostic, Not a Ritual
- Sunnyvale-Specific Debris: Drought Soil and Tree Canopy
- Opener Force-Limit Calibration: The Setting Nobody Touches
- Safety Sensor Alignment and the Reversal Test
- Rollers, Hinges, and Track Inspection
- How to Log Maintenance Like a Technician
- Common Mistakes to Avoid
The Lubricant Matrix: What Actually Goes Where
The biggest mistake we see in Sunnyvale garages is a single can of WD-40 being used on everything that moves. WD-40 is a solvent, not a lubricant. It strips away whatever grease is there and then evaporates, leaving metal-on-metal contact. On nylon rollers, it accelerates wear and can make the roller surface gummy. On torsion springs, it provides maybe a week of quiet before the squeak returns, now with less protective coating than before. If you’ve been using WD-40 on your garage door, stop. Then get the right products for each component.
Here is the lubricant matrix we use on every door we service, whether it’s an Amarr, a Wayne Dalton, or a Craftsman:
- Torsion springs: White lithium grease or a dedicated garage-door spring lubricant. Apply a light coat along the top of each spring while the door is closed. The goal is to coat the coil surfaces where they rub against each other during cycle.
- Steel rollers with ball bearings: A few drops of light machine oil (3-in-1 or similar) into each bearing. Wipe off excess.
- Nylon rollers with ball bearings: Same as steel rollers: light machine oil on the bearings only. Never spray the nylon wheel itself.
- Hinges and pivot points: White lithium grease or a synthetic garage-door lubricant. One small dab per hinge pin, then cycle the door once to distribute.
- Track (vertical and horizontal): Nothing. Tracks should be clean and dry. Lubricating tracks is a myth that attracts dirt and creates a sticky paste that binds the rollers. If the track is dirty, wipe it with a dry rag.
- Opener rail (chain-drive only): White lithium grease on the chain. Belt-drive rails get nothing. Screw-drive openers need a specific screw-drive grease, not lithium.
If you’re unsure which openers or doors you have, an opener repair call in Sunnyvale will settle it in minutes. But the lubricant matrix above applies regardless of brand, and it’s the same guide our technicians use before they touch a LiftMaster, Genie, or Chamberlain opener.
The Balance Test as a Diagnostic, Not a Ritual
Every maintenance guide on the internet tells you to “test the balance.” Almost none of them explain what the result actually means. The balance test is not a pass/fail exercise. It’s a read on spring tension, and the door’s behavior mid-lift tells you more than whether it stays put at the halfway point.
Here’s the sequence, and what each outcome signals:
- Pull the emergency release cord (the red handle hanging from the opener rail) with the door closed. This disconnects the opener from the door.
- Lift the door manually to waist height and let go. A properly balanced door stays within a few inches of that position. A door that drifts upward means the springs are overwound. A door that drops means they’re underwound or worn.
- Lift the door to full open and let go. A balanced door stays open. If it creeps down, tension is failing and the springs are nearing the end of their cycle life.
- Lower the door to knee height and watch the sides. If the door twists or one side sits higher than the other in the track, that’s a cable issue, not a spring issue. Cables fail unevenly when a spring breaks or when drum wrap is inconsistent.
What you’re looking for is not “does it stay put” but “what direction does it drift, and how fast?” Drift speed is the diagnostic. A slow drift down means the springs are worn but functional. A fast drop from waist height means failure is imminent, and you should stop using the door until a technician can replace the springs. In our experience around Sunnyvale, spring failures spike after the first cold snap of fall, when temperature swings contract the coil steel. If your door drifts more in November than it did in August, that’s a material property, not your imagination.
Torsion spring replacement is not a DIY job. The tension stored in a wound spring is enough to cause serious injury. If the balance test suggests spring wear, call a professional. Commodore Garage Door Repair offers free estimates and we’ll give you a straight diagnosis before any work is quoted. Our Sunnyvale garage door repair page covers what’s included in a spring replacement visit.
Sunnyvale-Specific Debris: Drought Soil and Tree Canopy
Sunnyvale garages deal with two types of debris that most generic checklists ignore. The first is drought-hardened soil that gets tracked in on car tires and then builds up along the bottom edge of the door. The second is overhead tree litter: redwood needles, eucalyptus bark, and the fine dust that settles on horizontal track surfaces during the dry months. Both cause slow, compounding problems that don’t show up in a quick visual check.
The bottom seal, also called the astragal, is the flexible rubber strip that runs along the bottom edge of the door. In Sunnyvale’s dry climate, the soil that accumulates in the driveway becomes powdery in summer and gritty year-round. That grit works into the seal from the inside, wearing it from behind. You’ll see light coming through under the door before the seal looks visibly cracked from the outside. To check it properly:
- Close the door and stand inside the garage on a sunny afternoon. Look for light visible under the bottom edge. That’s your clearest indicator.
- Run your hand along the inside of the seal. If it feels crusty or embedded with grit, it needs cleaning, not just a visual pass.
- Inspect the seal ends. The corners where the seal meets the vertical weatherstripping degrade first in dry heat. Cracks here widen quickly.
- Clear the track ledges. With the door open, wipe any visible dust or debris from the horizontal track surface. A few grams of tree litter in the wrong spot will cause a visible bump in the door’s travel path.
If your door is a Raynor or Clopay with a T-style bottom seal, replacement is straightforward with the right profile. A Sunnyvale installation specialist can swap the seal without replacing the door. But the check itself takes two minutes and should be part of every maintenance cycle in this climate.
Opener Force-Limit Calibration: The Setting Nobody Touches
Every modern garage door opener, whether it’s a LiftMaster with MyQ, a Chamberlain belt-drive, or a Genie chain-drive, has a force-limit setting. It controls how much resistance the opener will push against before it stops and reverses. The factory default is usually fine for a brand-new door. But doors change over time: springs lose tension, hinges wear, tracks accumulate debris. The door gets heavier as components age, and the opener compensates by pushing harder. That’s when the force limit drifts out of spec and starts causing problems.
Signs the force limit is too low: the opener stops or reverses mid-cycle when there’s no visible obstruction. Signs it’s too high: the door closes against an object and the opener doesn’t reverse, or the door bounces at the floor before the opener stops. The second condition is dangerous, and it’s the one we see most often in Sunmyvale garages where the opener was installed years ago and never recalibrated. An opener that fails to reverse on contact can damage the door, the opener, or anything in the door’s path.
Most openers adjust via two dials on the unit itself: “up force” and “down force.” The right procedure is to set them to the lowest setting where the door consistently completes a full open and close cycle without stalling. Then run the reversal test (below). If the door won’t reverse when the safety sensor beam is broken, the opener needs immediate attention, not just a dial tweak. This is a calibration most homeowners never touch, and it’s the single most common cause of unnecessary opener service calls we see across Sunnyvale. If your opener is a Craftsman or a Genie, the adjustment procedure is slightly different from a LiftMaster or Chamberlain, and the manual’s diagram leaves a lot out. Our garage door opener repair in Sunnyvale page explains what a force-limit calibration looks like in practice.
Safety Sensor Alignment and the Reversal Test
Safety sensors, the two small photo-eye units mounted near the floor on either side of the door opening, are the most incorrectly adjusted components on a modern garage door. A sensor that’s slightly out of alignment will work inconsistently: the door closes fine for a week, then refuses to close, then works again. That intermittent behavior is the classic sign of an alignment issue, not an electronic failure.
The alignment check is simple but needs to be done in the right order:
- Check the indicator lights on both sensors. On a LiftMaster, a solid green light on the sending unit and a solid amber light on the receiving unit means they’re aligned. A blinking or flickering light means the beam is interrupted or misaligned.
- Clear the path. Move anything within 12 inches of the sensor line. Boxes, bikes, even a coiled garden hose will break the beam.
- Loosen the wing nut on the receiving sensor and adjust its angle until the indicator light steadies.
- Run the reversal test. Place a roll of paper towels or a 2×4 flat on the floor in the door’s path, then close the door. The door should reverse within 2 seconds of contacting the object. If it doesn’t, the force limit is too high (see the section above), and the opener needs recalibration.
Safety sensors fail in Sunnyvale’s dust-heavy summer months when a fine layer of soil accumulates on the sensor lens. Cleaning the lens with a dry cloth is a preventive step most lists omit. And if you have a Wayne Dalton or Amarr door with an older opener, the sensor system may be a retrofit that uses a different indicator pattern. The reversal test is the only test that matters regardless of what the lights say.
Rollers, Hinges, and Track Inspection
Rollers are the fastest-wearing component on a garage door, and in Sunnyvale’s dry air, the nylon and steel both degrade faster than in humid climates. The two failure modes are bearing seizure and roller surface wear. A seized bearing grinds flat over time, turning the roller from a wheel into an oval slider. A worn roller surface allows the door to shimmy in the track, which accelerates the wear on every other moving part.
The inspection sequence for rollers and hinges is:
- With the door closed, inspect each roller. Look for cracks in nylon rollers, flat spots on steel rollers, and any visible wobble at the stem.
- Test each hinge for play. Grip the hinge with your hand and try to rock the door panel. More than a few millimeters of movement means a worn hinge pin or an elongated hole.
- Listen during a full cycle. A consistent clicking or grinding from one side of the door points to a specific roller or hinge position, not the whole track.
- Inspect the track brackets. Loose bracket bolts produce a rattle at specific points in the travel. Tighten them with a socket wrench, but don’t over-torque the wall bolts.
Replacing a roller is straightforward on the sides and top of the door, where the track is vertical and the tension is low. But the bottom roller on each side carries the full weight of the door and is attached to the cable assembly. Bottom roller replacement means detaching the cable, which is under tension. That’s a professional job. When we service a door in Sunnyvale and find worn bottom rollers, the repair sequence is always roller replacement first, then re-tension, then balance test. That order matters, and it’s why we recommend a Commodore Garage Door Repair home visit rather than a YouTube tutorial for bottom roller work.
How to Log Maintenance Like a Technician
The difference between a useful maintenance log and a sticky note that says “serviced last spring” is specificity. When a technician shows up to a door that has been maintained, the first question is not “was anything done” but “what was done, when, and what did you notice?” That information changes the diagnosis. A log entry that says “door drifted down at balance test, October 2025” tells the next technician that the springs were worn eight months ago and are likely closer to failure now. A log entry that says “lubricated springs” with no date tells us nothing.
Here’s what a useful log entry contains, and an example:
- Date of work. Every entry.
- What you did. Lubricated springs, cleaned sensors, adjusted force limit, replaced weatherstripping.
- What you observed. “Door drifted down 2 inches from waist height during balance test.” “Squeak from left hinge at knee height.” “Light visible under left corner seal.”
- What you didn’t do. “Did not touch torsion spring hardware.” This is critical safety documentation.
- Parts or products used. “White lithium grease on torsion springs. Light machine oil on roller bearings.”
- Next step. “Plan to recheck balance in 3 months.” “Bottom seal replacement recommended by technician.”
A good log entry looks like this: “March 2026, Sunnyvale. Lubricated torsion springs and all hinges with white lithium grease. Cleaned sensor lenses. Ran reversal test with a 2×4: passed. Balance test: door stays at midpoint with no drift. No action needed on rollers. Next maintenance: July 2026.” That entry gives the next technician a baseline. It says the door was healthy at this date, and any change since then is new information. If you ever sell the house, that log adds value to the property. And if you ever call us, it cuts the diagnostic time in half.
Common Mistakes to Avoid
- Spraying WD-40 on everything. WD-40 is a solvent and degreaser, not a long-term lubricant. On nylon rollers it causes surface degradation. On torsion springs it strips protective coatings. Use white lithium grease and light machine oil as described in the lubricant matrix above.
- Lubricating the track. Tracks should be clean and dry. Greasing them attracts dust and creates a paste that grinds against the rollers. In Sunnyvale’s dry months, this paste bakes on and creates noise, not smooth travel.
- Ignoring a slow door drift because “it still works.” A door that drifts down from the open position is telling you the springs are worn. Waiting until the spring snaps means the door won’t open at all, often with your car inside the garage.
- Tightening everything with a power driver. Over-torqued bolts on track brackets and hinges strip the threads and loosen faster than correctly torqued bolts. If you’re tightening, use a hand tool and stop at resistance.
- Never touching the force-limit dials. The default setting from the factory drifts out of spec as the door ages. An opener that doesn’t reverse against a slight obstruction is a safety issue. This is the one maintenance step most homeowners never do, and it’s the first thing a technician checks.
- Running maintenance without disconnecting the opener. The emergency release cord exists for a reason. If the opener is engaged while you’re working on the door, it can activate and drag the door or your tools. Always pull the release before any manual cycle.
- Skipping the reversal test after adjusting anything. The reversal test is the final check for every maintenance session. If the door fails, the opener is unsafe to use. That’s not a maintenance issue; it’s a call for professional repair.
See the difference
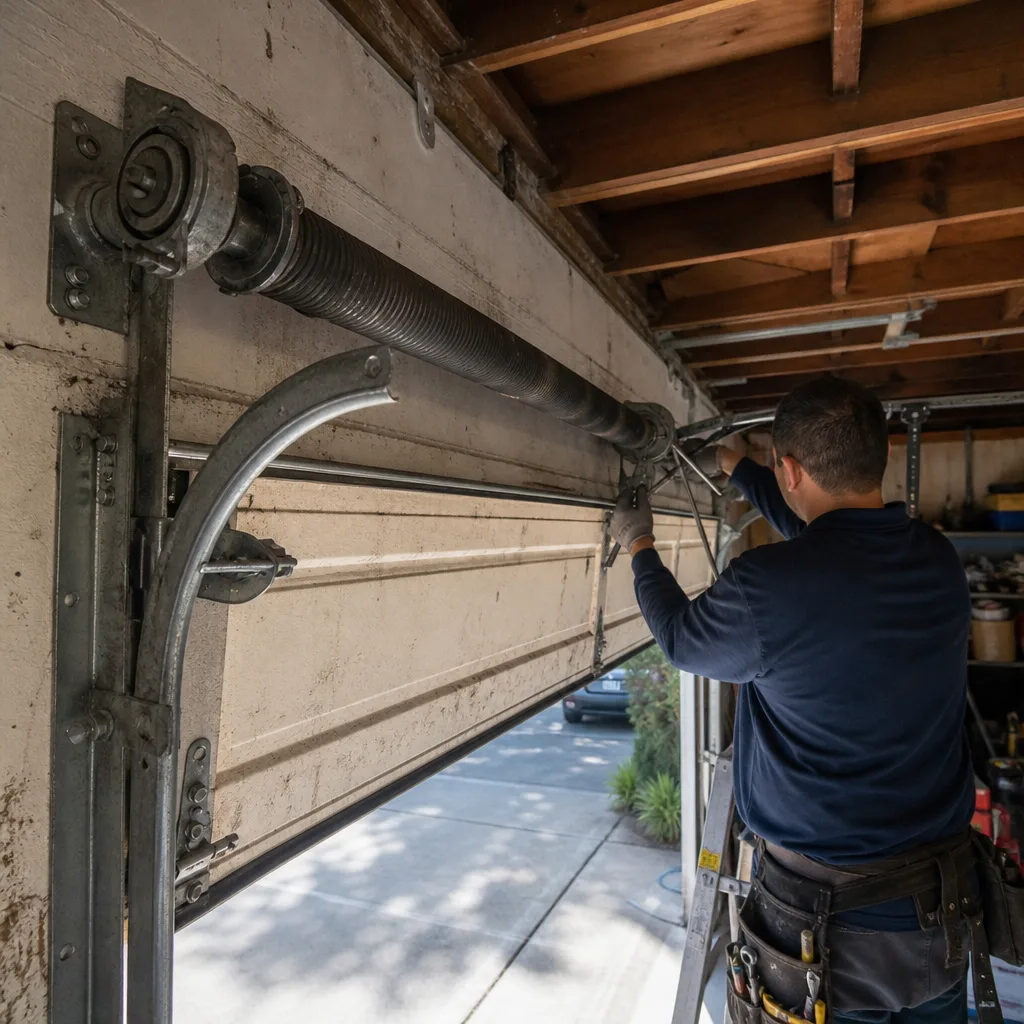 Before
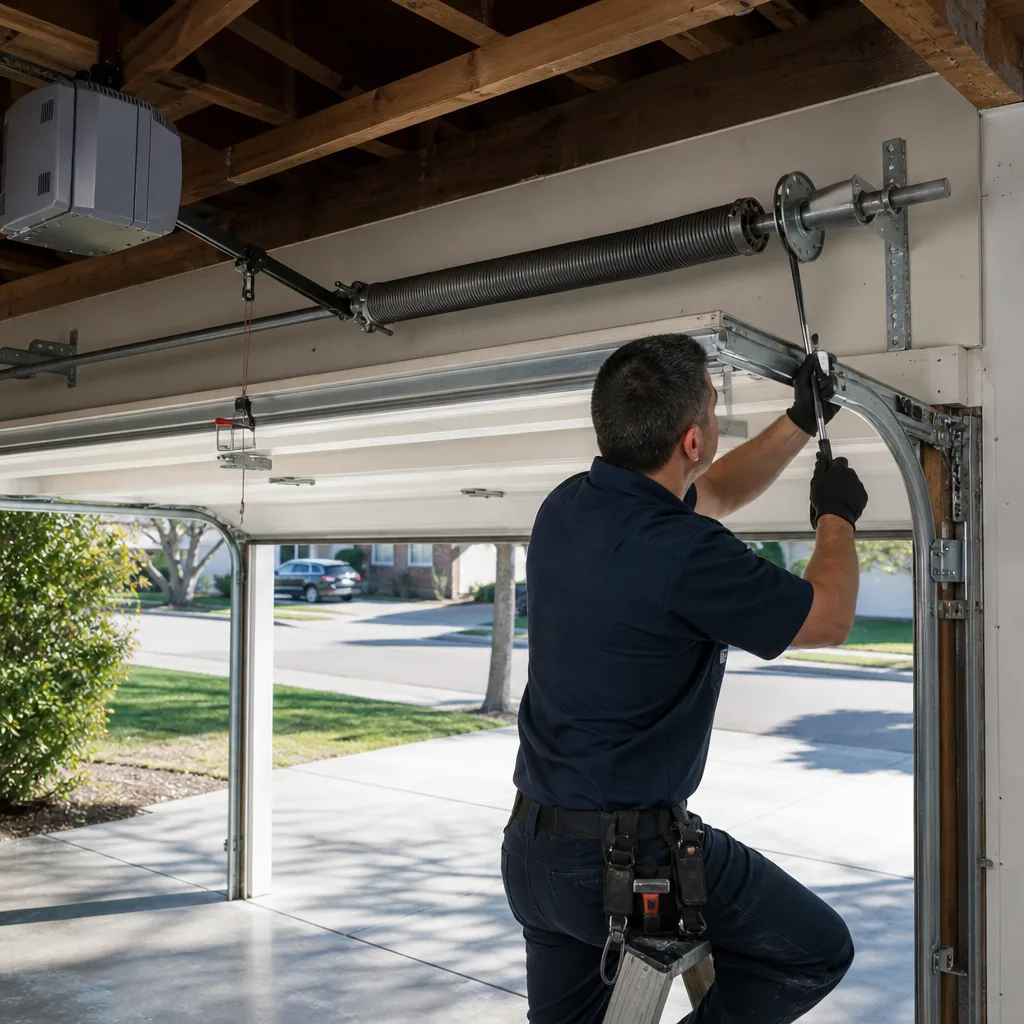 After
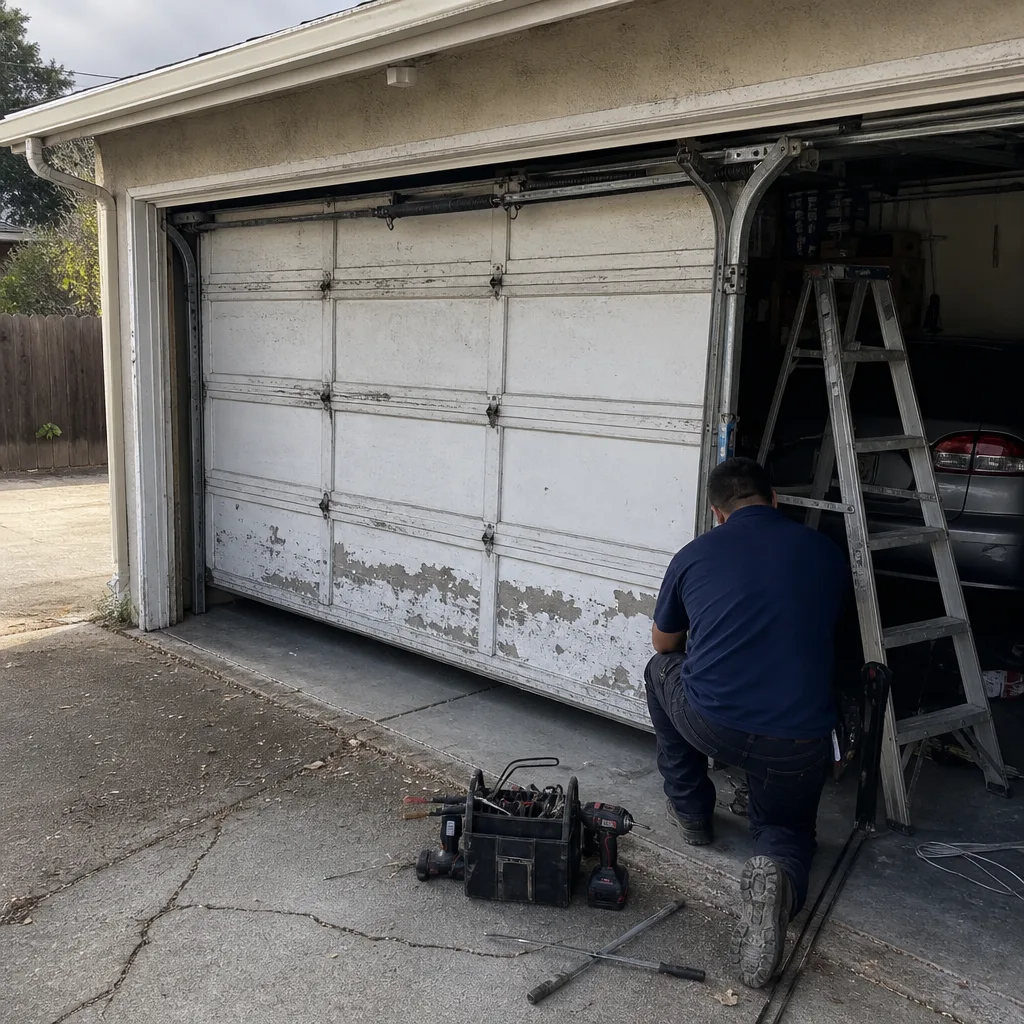 Before
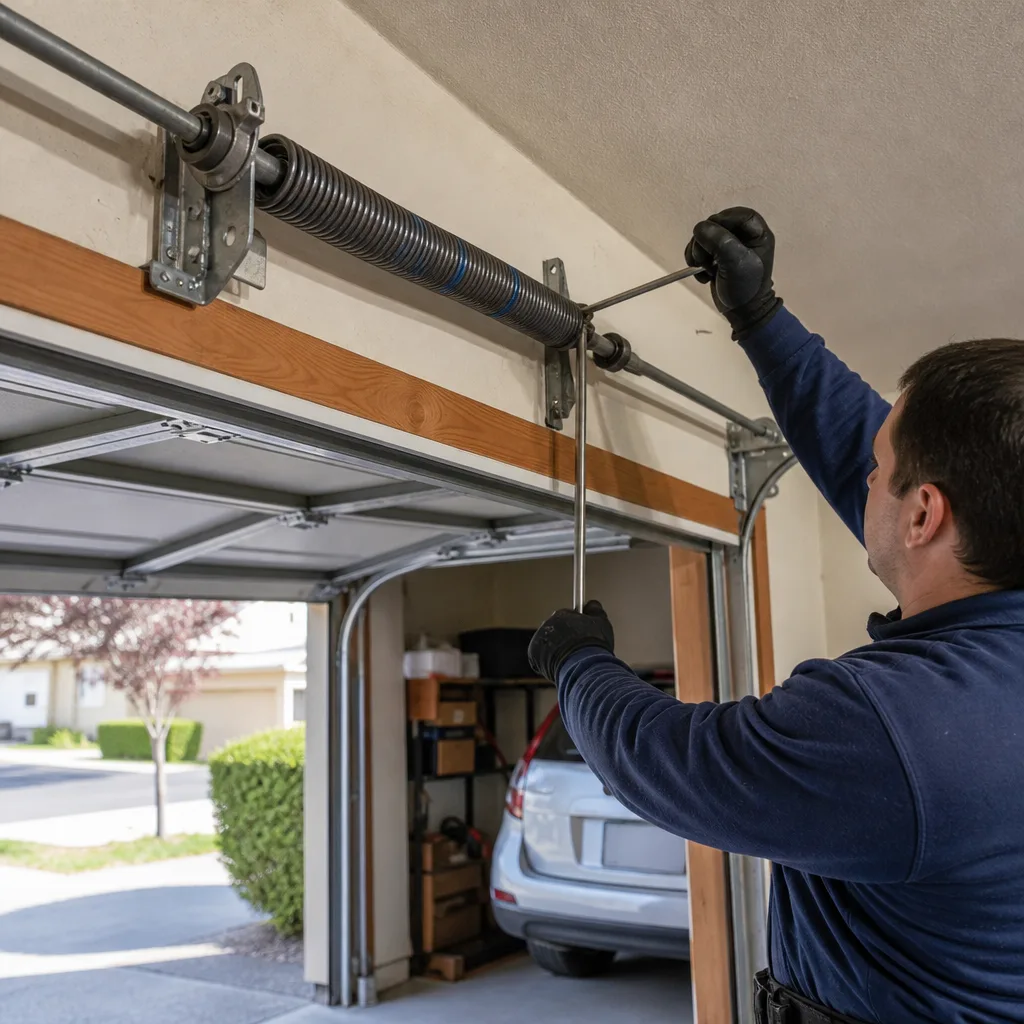 After
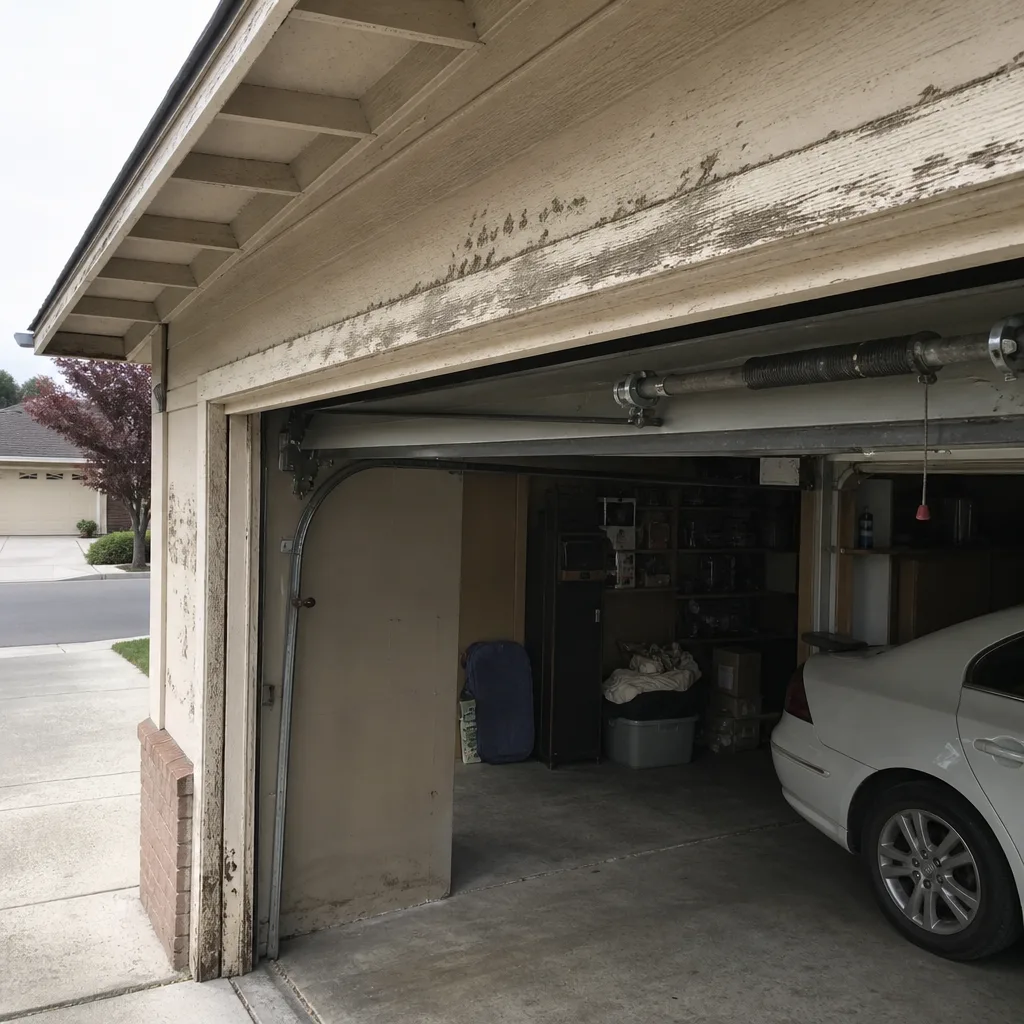 Before
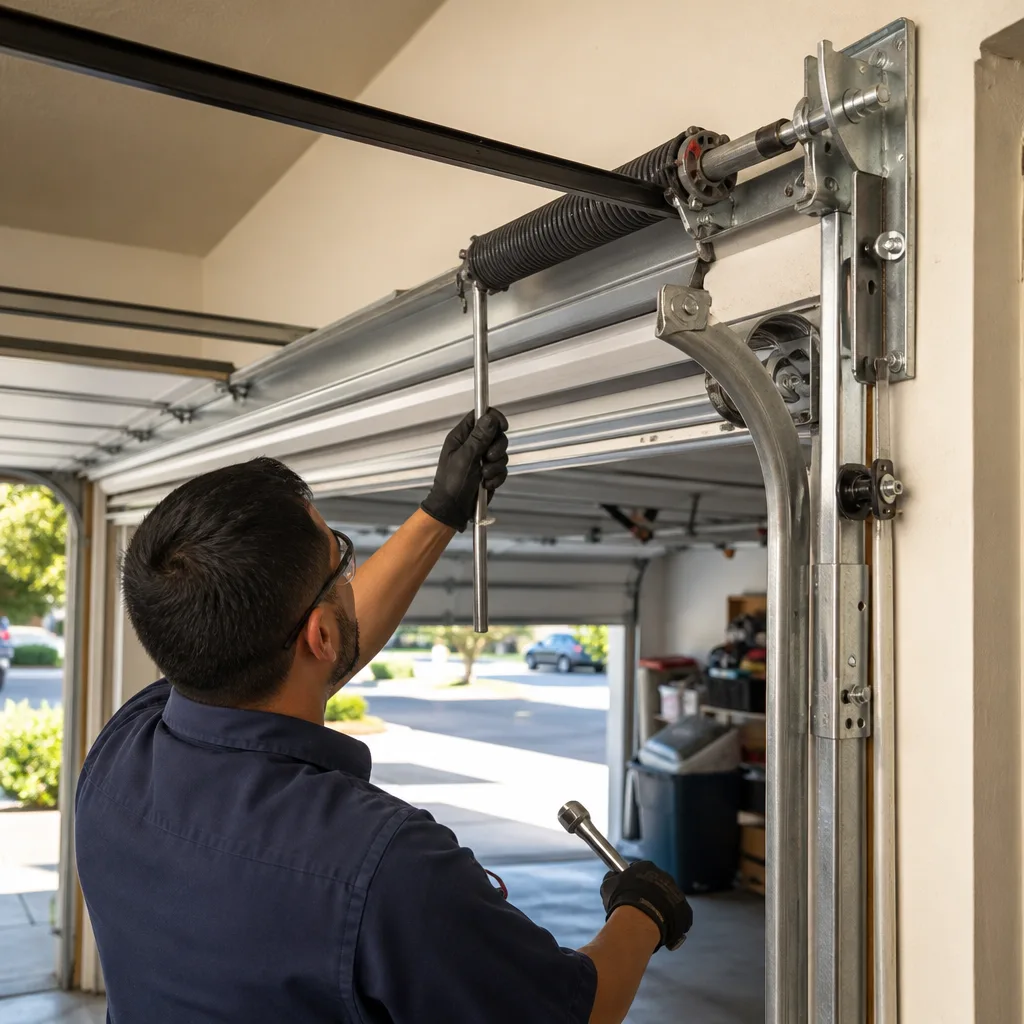 After
When to Call a Professional
Call a professional when the balance test shows a fast drop, when you hear a loud bang from the springs, when the door reverses without obstruction, when a bottom roller is worn or seized, or when you see frayed cable strands. These are not maintenance items. They’re failures in progress. Torsion springs store enough tension to break bones, and cables under load will snap unpredictably if you try to release them by hand. If you’re in Sunnyvale, Commodore Garage Door Repair offers free estimates and same-day diagnosis in most cases. Call (877) 358-3130 and we’ll tell you what’s wrong before we touch anything.
Frequently Asked Questions
Every 4 months is the right interval for Sunnyvale’s climate. The dry heat accelerates roller bearing wear, and the summer dust builds up on sensor lenses and track surfaces faster than in coastal areas. A quarterly check catches most issues before they become breakdowns.
Use white lithium grease or a dedicated garage-door spring lubricant. Apply a light coat along the top of the spring while the door is closed. Do not use WD-40, which strips protective coatings and evaporates. Reapply every 4 months or when you hear squeaking.
No. Torsion springs are under extreme tension, and improper winding has caused serious, permanent injuries. Even with the right tools, the margin for error is small. A trained technician can replace a spring in under an hour; a DIY attempt risks hospitalization. Call (877) 358-3130 for a quote.
An opener that reverses mid-cycle is usually responding to a safety sensor beam interruption or a force-limit setting that’s too sensitive. Check the sensor alignment first; a blinking indicator light means the beam is broken or misaligned. If sensors are aligned, the force limit needs recalibration. This is one of the most common issues we diagnose on an opener repair call in Sunnyvale.
A basic maintenance visit, including lubrication, balance test, sensor cleaning, and force-limit calibration, typically ranges from $89 to $149 in Sunnyvale depending on door size and opener age. Parts like rollers, seals, and springs are quoted separately and only after we show you what’s worn. Call (877) 358-3130 for a free estimate and we’ll give you the exact number before any work begins.
Temperature-related noise is common in Sunnyvale, especially with metal rollers and older torsion springs. Cold metal contracts overnight, and the first open of the day produces a creak or groan that fades as the components warm up. If the noise persists through the afternoon or changes into a grinding sound, the rollers or hinges need attention. Don’t ignore a noise that’s consistent regardless of temperature.
The Bottom Line
A maintenance checklist is only as good as the order it’s written in and the specificity behind each step. Rollers and hinges first, because they fail fastest. Balance test second, because it’s the diagnostic that reveals spring wear. Sensors and force limits third, because they’re safety-critical and most often neglected. Debris and seals last, because they degrade slowly and their wear shows up as light and grit, not as a breakdown. Run the sequence every 4 months, log what you observe, and stop using the door the moment the balance test or reversal test fails. That’s the checklist. If you’d rather have us run it, we’re at (877) 358-3130 and the first visit is a free estimate. No upsell. Just a straight diagnosis and clear options.
Written by the team at Commodore Garage Door Repair, serving Sunnyvale since 2015.