
Last updated November 2, 2026
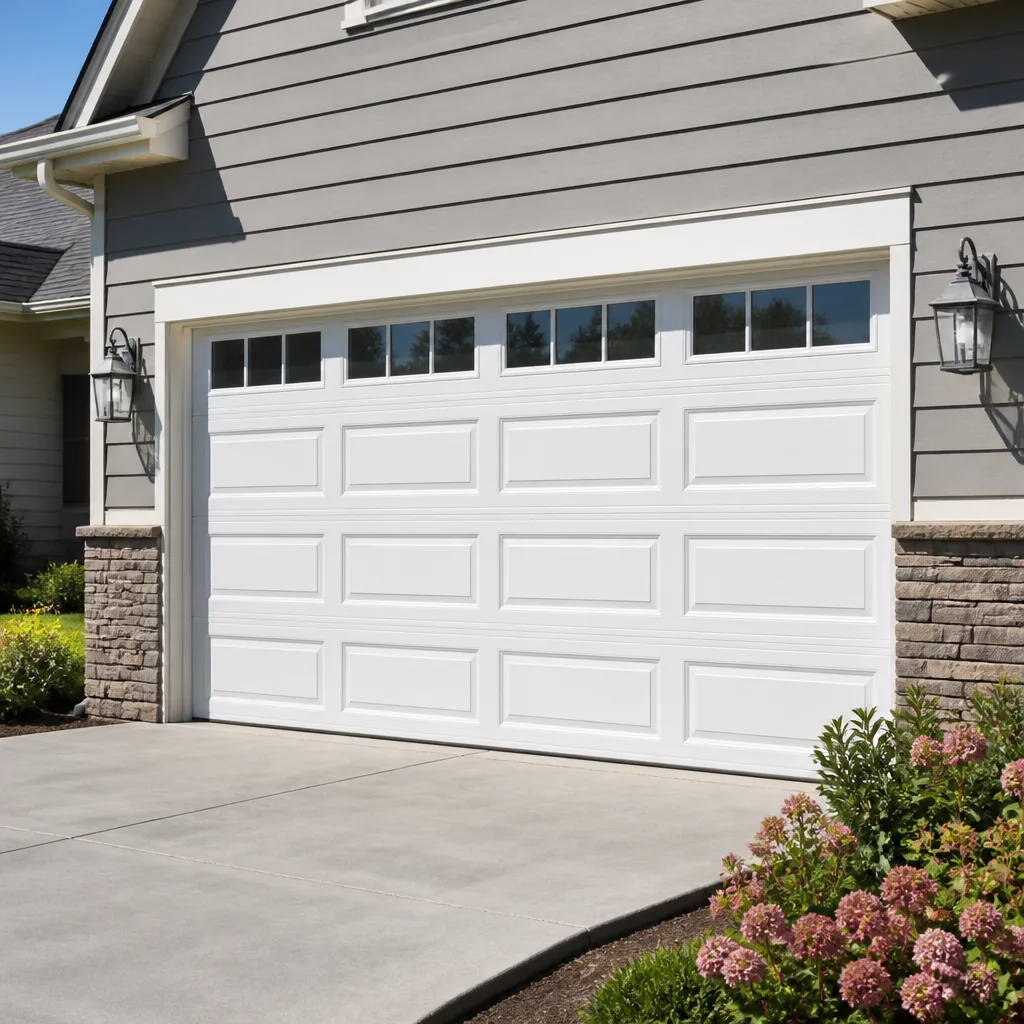 Raised-panel steel
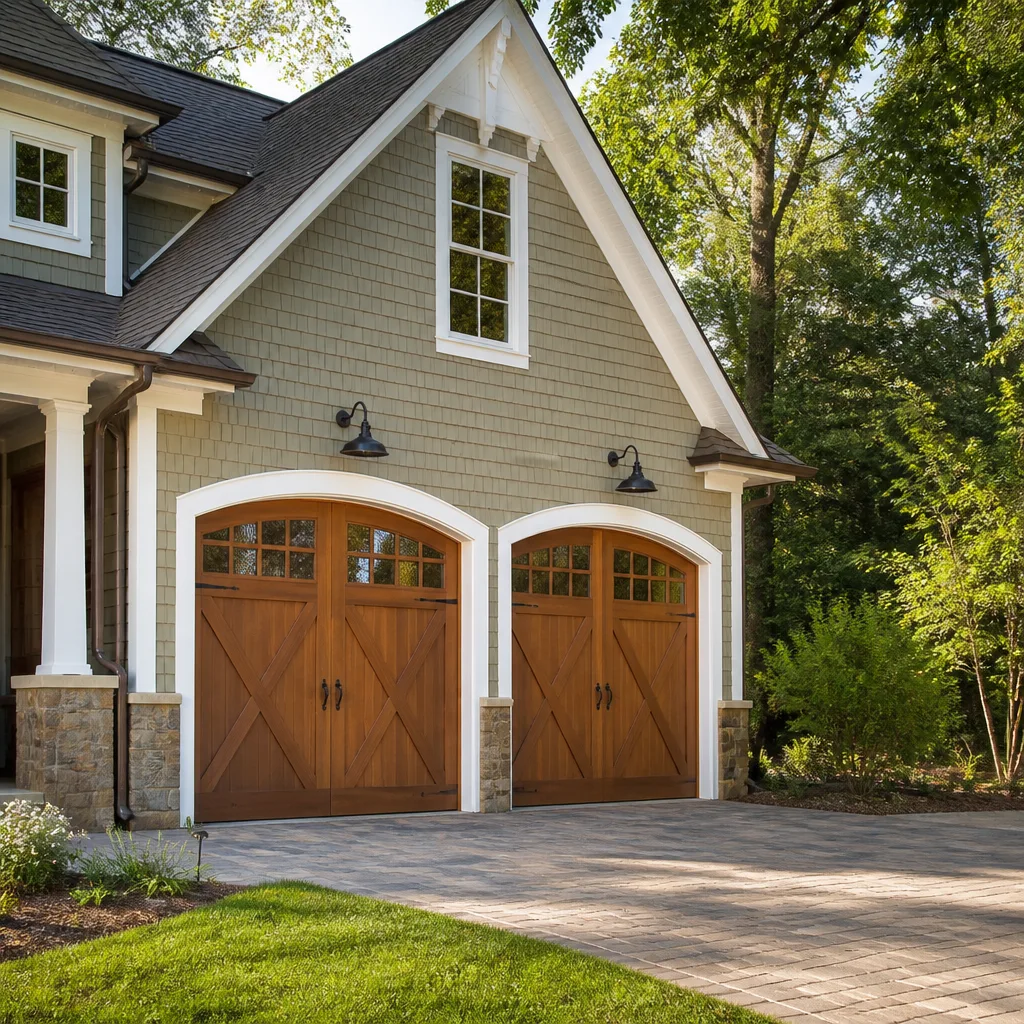 Carriage house
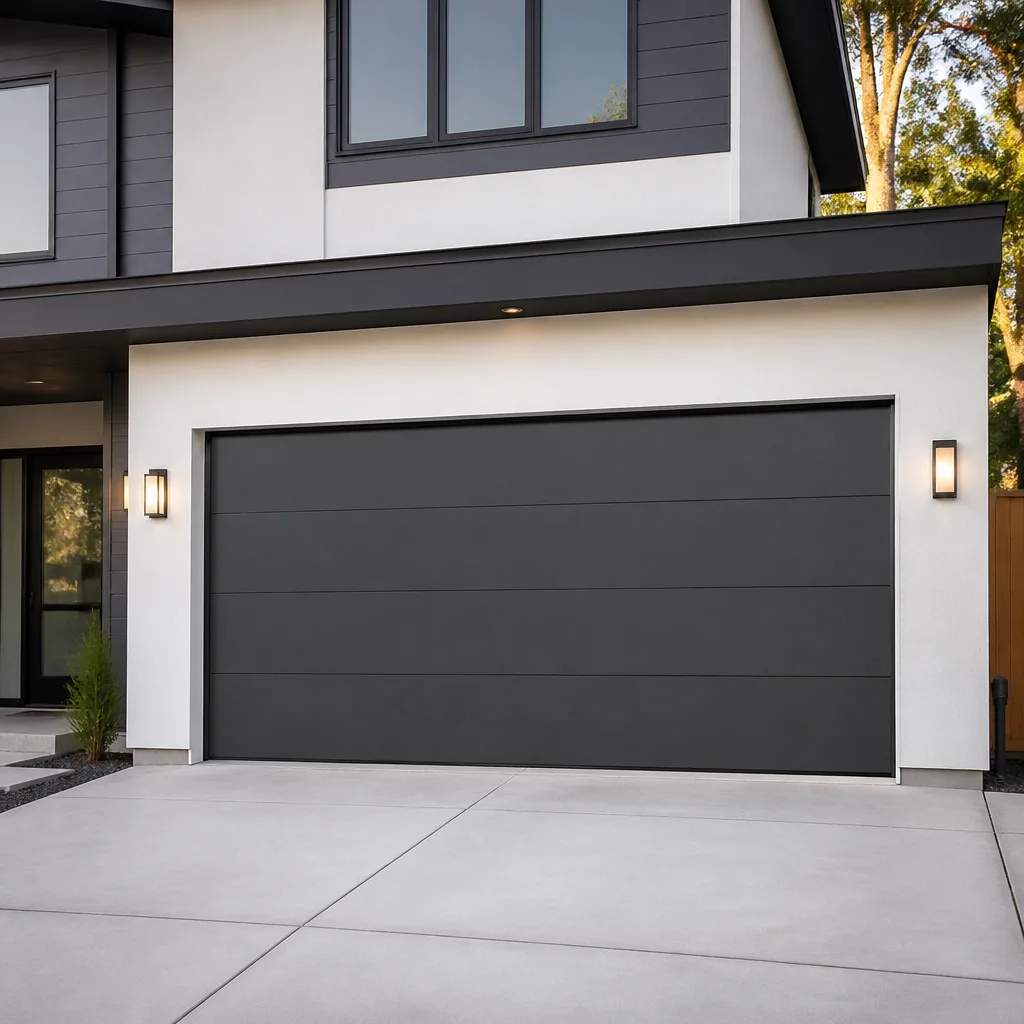 Modern flush
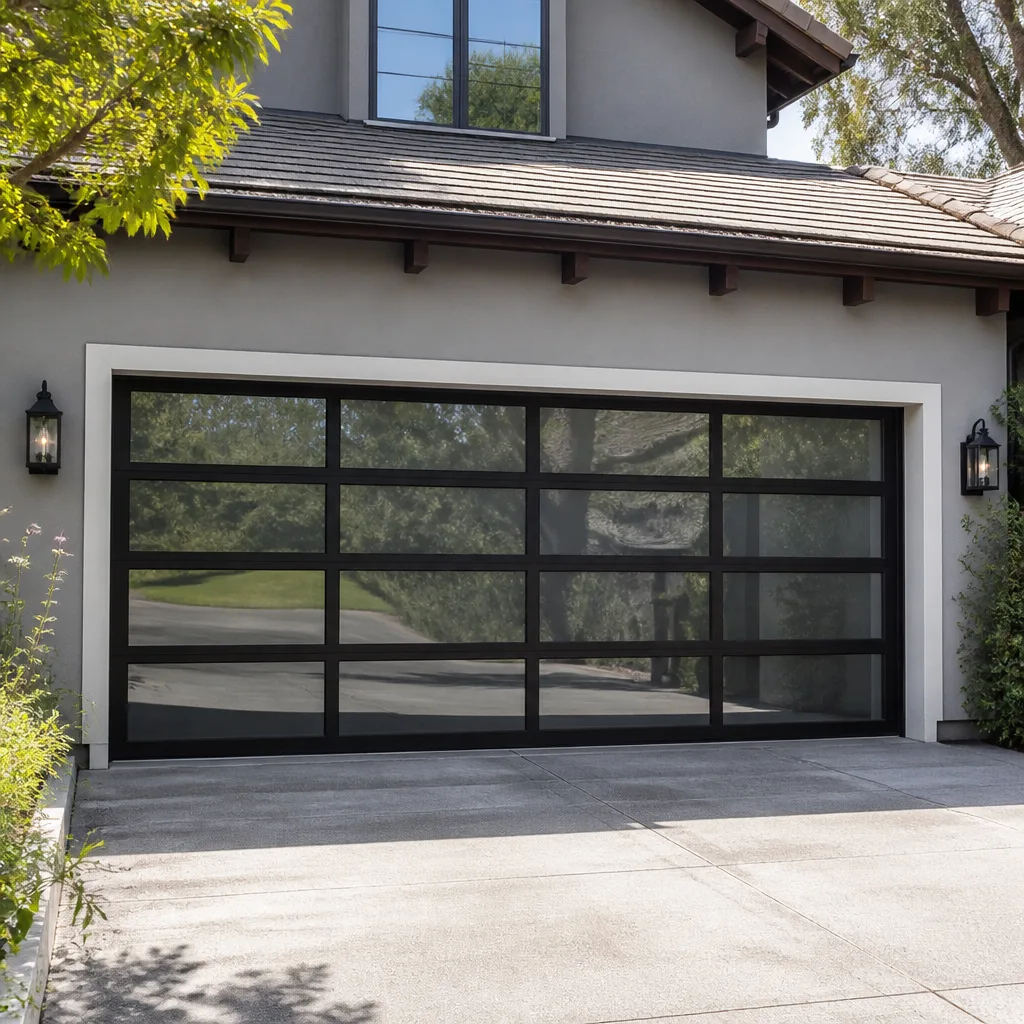 Full-view glass
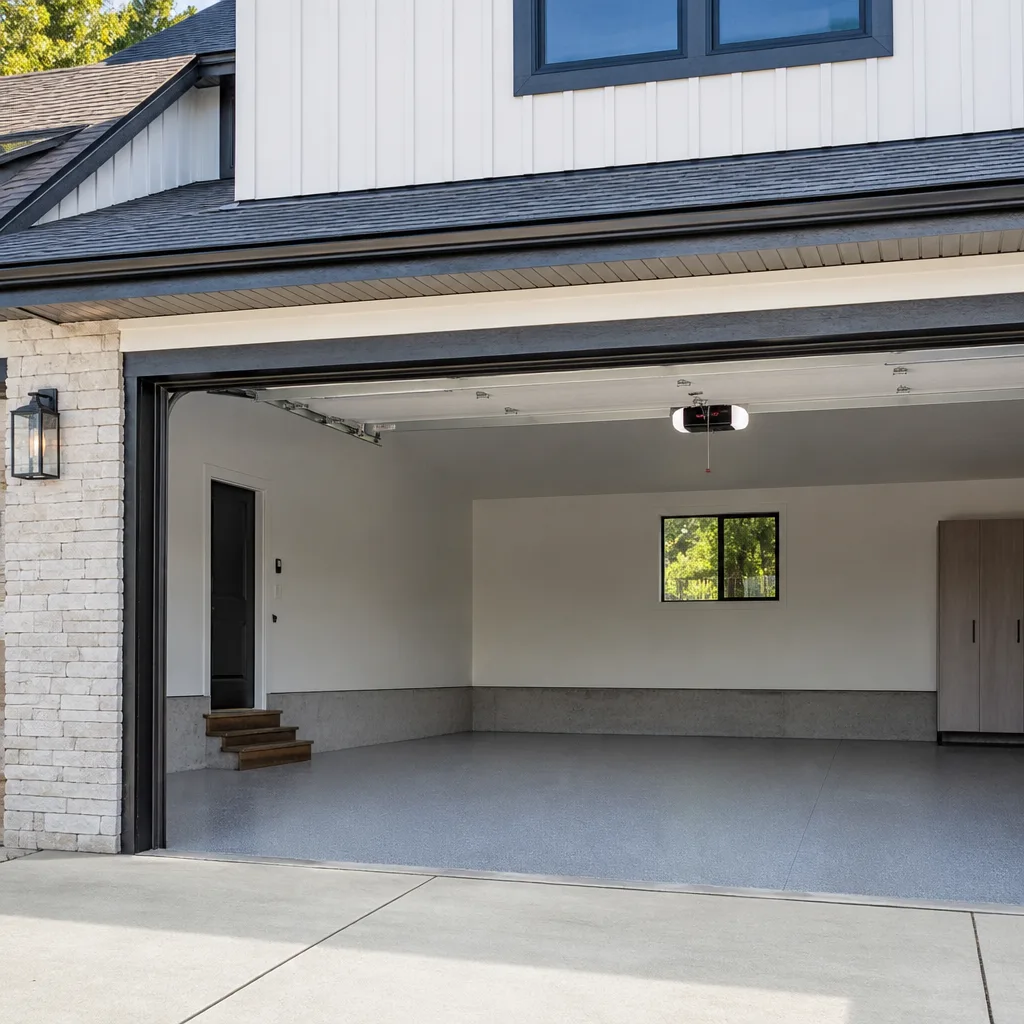 LiftMaster openers
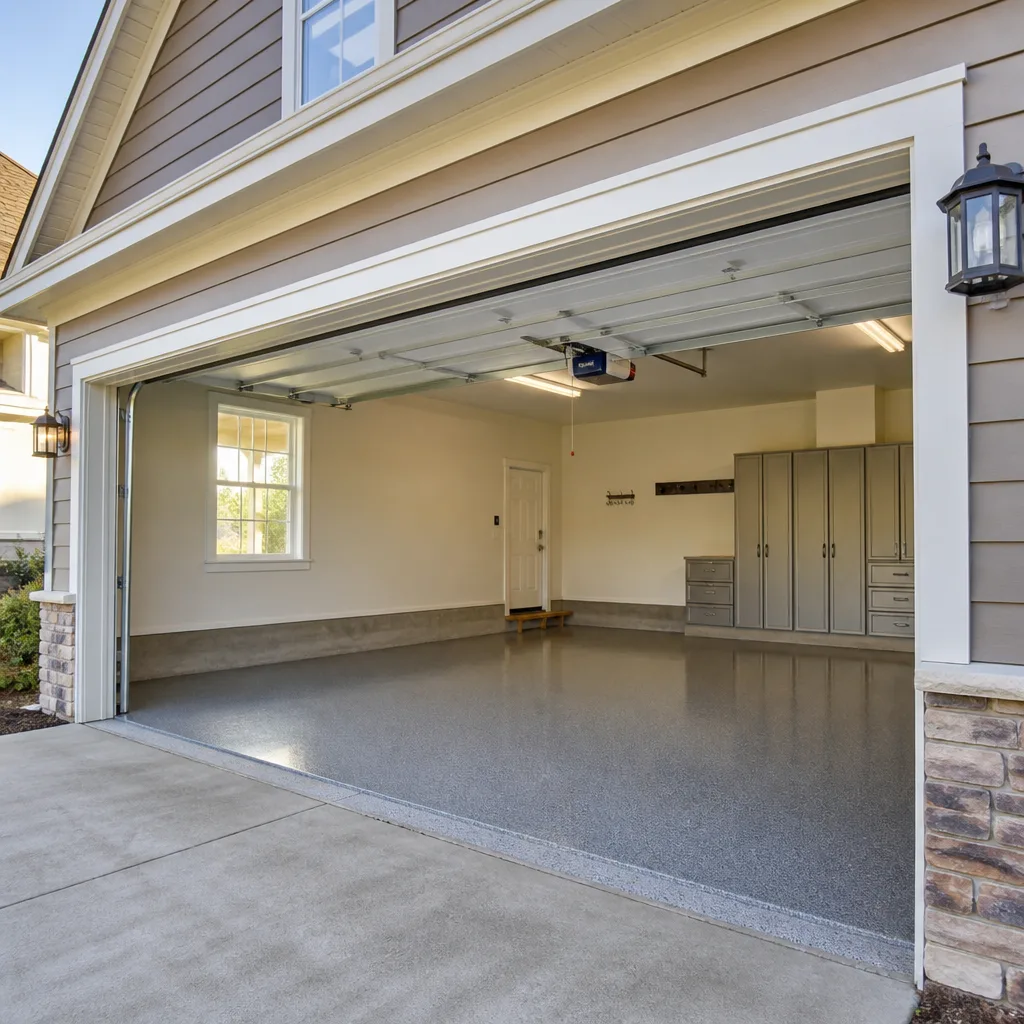 Chamberlain openers
Full 25-point door and opener safety check with every visit - springs, cables, rollers, tracks, and your LiftMaster or Chamberlain opener included
You get a price before we start. It does not change when the truck arrives.
Get your free estimateDIY vs Professional Garage Door: The Sunnyvale Homeowner’s Decision Guide
Here’s a fact most “DIY garage door” videos gloss over: a torsion spring under full tension stores roughly enough mechanical energy to lift a mid-size sedan off the ground. It releases that force in a fraction of a second when the spring lets go. We’re not telling you this to scare you away from your own garage. We’re telling you because the real question in Sunnyvale isn’t whether you’re handy enough to fix a garage door. It’s whether the specific component you’re about to touch can hurt you permanently if you get it wrong. This guide breaks down every common garage door task by risk level, so you’ll know exactly which jobs are reasonable to take on yourself, which ones need a torque wrench and a prayer, and which ones you should hand to a professional before you open the toolbox. By the end, you’ll have a clear decision framework that most homeowners never get, and you’ll know why we approach certain repairs the way we do.
Quick Answer
DIY makes sense for low-risk garage door maintenance in Sunnyvale: realigning photo-eye sensors, lubricating rollers and hinges, reprogramming remotes and keypads, and replacing a bottom rubber seal. Professional help is the right call for anything involving torsion springs, lift cables, track repair, or opener logic-board diagnostics. The dividing line isn’t how capable you are. It’s how much stored energy the component holds and how bad the failure mode gets if you’re off by a quarter inch.
Styles & brands we work with
- Raised-panel steel
- Carriage house
- Modern flush
- Full-view glass
- LiftMaster openers
- Chamberlain openers
Table of Contents
- The Risk Classification: What’s Actually Safe to Touch
- Torsion Springs: The One Component That Changes the Whole Conversation
- Safe DIY Tasks in Sunnyvale: What You Can Do This Weekend
- The Tool Reality: Why “Just Watch a YouTube Video” Falls Apart
- The Sunnyvale Factor: Why Your House Makes This Decision Different
- The Cost Math: When DIY Actually Costs More
- Brand Considerations: Why Your Door’s Manufacturer Matters
The Risk Classification: What’s Actually Safe to Touch
Garage door components don’t all deserve the same caution. Lumping them together is how smart people make bad calls. We classify every part of a residential garage door system into three tiers based on what’s actually involved: the kind of force stored, the precision required, and what happens when the repair goes sideways. Here’s the breakdown, informed by what we see across the garage door repair calls we handle in Sunnyvale.
Tier 1: Safe for a careful homeowner
- Photo-eye sensor realignment: Two small units near the floor, a green or red indicator light, and a wingnut adjustment. No stored energy, no pinch points, no special tools. If the door reverses when it shouldn’t, this is the first thing to check.
- Roller and hinge lubrication: A can of white lithium grease or silicone spray, applied to the rollers, hinges, and the torsion spring coil. Takes ten minutes. Prevents wear. You cannot hurt yourself doing this if the door is closed.
- Remote and keypad programming: Modern LiftMaster and Chamberlain openers have a learn button on the motor head. Press it, press the remote, done. Reprogramming a keypad takes under two minutes with the right instructions.
- Bottom seal replacement: The rubber strip along the bottom of the door slides into a channel. You pull the old one out, cut a new one to length, and slide it in. A utility knife and twenty minutes. Low stakes, high payoff.
- Battery replacement in remotes and wall consoles: Self-explanatory, but worth listing because a surprising share of “broken opener” calls in Sunnyvale are just dead 9-volt batteries.
Tier 2: Precise but not dangerous
- Limit-switch adjustment: This controls how far the door travels up and down. If the door reverses at the wrong point or doesn’t close flush, a half-turn of the limit screw on the opener head usually fixes it. Wrong adjustment just means the door doesn’t close properly – it won’t send a bracket through drywall.
- Track cleaning and minor alignment: Tracks collect fine Sunnyvale dust and pollen. Wiping them down and snugging loose track bolts is fine. But if the track is bent or pulling away from the wall, you need a professional assessment.
- Weatherstripping replacement along the sides and top: Similar to the bottom seal. Pry off the old strip, cut new vinyl to fit, press into place. Heat gun helps in the winter months when vinyl gets stiff.
Tier 3: Do not do this yourself
- Torsion spring repair and replacement: The spring sits on a metal shaft above the door and holds the door’s entire weight under torsion. When it snaps (and it will eventually fail, usually after 10,000 cycles), the unwinding releases sudden rotational force. Improper winding rods can break bones. This is the single most dangerous component in any home.
- Lift cable replacement: Cables run under tension and anchor to the bottom bracket. If a cable snaps and you’re near the bracket, the bracket can become a projectile. In finished garages, a flying bracket takes out drywall, car paint, or worse.
- Track repair and replacement: Tracks guide a door that weighs between 150 and 400 pounds. A bent track can bind the rollers and make the door come off its path. Getting a door back on track without proper tools and technique is how people hurt themselves.
- Opener logic-board and motor diagnostics: The circuit board inside your LiftMaster or Genie opener controls safety-reverse timing, force settings, and smart-home communication. Testing boards by jumping connections is a real way to fry a $300 part while learning nothing.
The pattern is clear: anything involving a spring, a cable under tension, or a heavy panel off its track should be left alone. Everything else is fair game.
Torsion Springs: The One Component That Changes the Whole Conversation
We’re giving torsion springs their own section because they’re why this guide exists. Most home repairs have a sliding scale of difficulty. You can usually attempt a sink drain or a light fixture and bail out if it’s over your head. A torsion spring doesn’t offer a bail-out path. You’re either set up correctly with the right tools and the right sequence, or you’re in the danger zone before you realize it.
A torsion spring system works by storing torque on a metal shaft mounted above the door opening. When the door closes, the spring winds. When you open it, the spring unwinds and does most of the lifting work. The opener motor is actually doing far less work than most homeowners assume. That’s why a spring failure means your opener won’t lift the door at all, or the door feels dead-heavy when you try to move it manually.
The equipment list for a legitimate torsion spring replacement is where the YouTube version and the real version split apart. In the videos, a guy uses two rebar pieces from Home Depot and a wrench. In reality, a safe replacement requires:
- Winding rods: Solid steel rods, typically 18 inches long and 1/2 inch in diameter, that fit exactly into the winding cone holes. Not screwdrivers. Not rebar. Not a pry bar. Rods that bend under load will snap and become shrapnel.
- A calibrated torque indicator or experience-level feel: Spring tension is set by quarter-turns. The number of turns is specific to door weight and height. Guess wrong, and the door either won’t lift or the opener burns itself out fighting an imbalanced load.
- Safety glasses and a full-face shield: Yes, both. When a winding cone fails, what comes off the shaft is moving fast enough to take out an eye.
- Leather work gloves with reinforced palms: For gripping rods and shaft. Not cotton. Cotton slips.
- A stable step ladder rated for your weight: You need your face at spring level while exerting serious downward force. A wobbling ladder and a winding bar is a bad combination.
- The correct replacement spring: This is where most DIY attempts go wrong before they start. Springs are measured by wire diameter, inside diameter, length, and wind direction (left-hand vs. right-hand). A spring for a 7-foot, 150-pound Raynor door isn’t even close to what a 8-foot, 300-pound wood Clopay door needs. Buy the wrong one online and you’ve spent a Saturday installing a component that’ll fail early or never balance the door.
- Two hours of shop-level patience: Winding a spring isn’t slow because it’s hard. It’s slow because stopping halfway through to check alignment is the only correct way to do it.
Sunnyvale homes built between the 1960s and 2000s overwhelmingly have this spring style. We replace torsion springs regularly, and in many cases the homeowner already spent money on the wrong spring before calling us. It isn’t a character flaw. The spring industry’s sizing conventions are genuinely confusing unless you measure wire gauge with calipers and count coils precisely. The point isn’t that you couldn’t learn this. It’s that learning it on a component that can send you to the ER on a failed attempt is an expensive curriculum.
Safe DIY Tasks in Sunnyvale: What You Can Do This Weekend
So far this has been a lot of “don’t.” Here’s the “do” side. These are tasks where a capable Sunnyvale homeowner with a basic toolkit can get genuine results and build familiarity with their door system. We encourage every one of these.
Step 1: Diagnose your door’s balance (the test before anything else)
- Close the door completely.
- Pull the emergency release handle (the red cord hanging from the opener rail). This disconnects the door from the motor.
- Lift the door manually to about waist height.
- Let go.
A properly balanced door stays at waist height. If it drops, your springs are weak or failing. If it shoots upward, the springs are overwound. Both conditions mean the opener motor is compensating for a spring problem, which shortens opener life and creates uneven wear. This test costs nothing and takes a minute. It’s the single most useful diagnostic a homeowner can perform.
Step 2: Lubricate the moving parts
- Buy white lithium grease (spray or tube) and a silicone-based lubricant. Do not use WD-40 on garage door parts. It’s a solvent, not a lubricant, and it strips the grease that’s already there.
- With the door closed, apply lithium grease to the torsion spring coil. Spread it along the full length of the spring.
- Apply silicone spray to the roller stems (the metal part that goes into the hinge, not the wheel itself), the hinge pins, and the track where the rollers travel.
- Open and close the door twice to distribute everything.
In Sunnyvale’s dry summer months, doors dry out fast. We recommend doing this twice a year: once in spring before the dry season, once in October before the cool damp season. It’s cheap insurance against roller wear and spring corrosion.
Step 3: Realign the photo-eye sensors
- Check the small indicator lights on both sensor units near the floor. One should be solid green, one solid yellow or red. A blinking light means misalignment or obstruction.
- Loosen the wingnut holding the blinking sensor’s bracket.
- Adjust the sensor’s aim until the light goes solid, then retighten the wingnut.
- Test the door by closing it on an object (a flattened cardboard box works well). The door should reverse on contact or before contact.
This task matters for a reason beyond convenience. The photo-eye system is the door’s primary safety mechanism for detecting a person or pet in the door’s path. A door that closes without working sensors can crush a child or an animal. If you can’t get clean alignment after ten minutes of adjusting, stop and call someone. A sensor that won’t stay aligned usually means a bent bracket or a wiring issue at the opener head.
Step 4: Replace the bottom seal
- Measure the door’s width. Buy a replacement seal at least 4 inches longer.
- With the door open (supported by the opener with springs intact), pull the old seal from the aluminum channel at the bottom of the door.
- Clean the channel with a brush and mild soap. Let it dry.
- Feed the new seal into the channel from one end. Silicone spray helps it slide. Work it through to the other end.
- Cut the excess with a utility knife. Test the door’s close.
Bottom seal replacement keeps dust, leaves, and the occasional curious rodent out of your garage. Sunnyvale garages near Stevens Creek or any of the city’s green corridors get more leaves and moisture than the average suburban lot, so a good seal matters year-round.
The Tool Reality: Why “Just Watch a YouTube Video” Falls Apart
“I’ll watch a video and do it myself” sounds reasonable until you inventory the tools the video assumes you already have. Here’s what a torsion spring replacement actually requires, versus what most Sunnyvale homeowners own:
The honest tool list for spring work:
- Two winding rods sized precisely to the spring’s winding cone (typically 1/2″ diameter, 18″ long, solid steel). These aren’t at Ace Hardware next to the screwdrivers. You’ll order them online or get them from a garage door supply shop.
- A torque-level feel for when the spring is wound to the correct quarter-turn count. Too few turns and the door’s heavy at the bottom of its travel. Too many and it’s dangerously over-tensioned.
- Calipers to measure the old spring’s wire diameter. Not a tape measure. Calipers.
- A level to verify the shaft is true after the spring change.
- Safety glasses, a face shield if you’re being honest with yourself, and heavy gloves.
Add up the cost. Two winding rods, calipers you’ll use once, a replacement spring, and the time to research sizing, order parts, install, test, and troubleshoot (because the first attempt rarely goes perfectly). You’re looking at $150 to $350 in parts and tools and four to eight hours of weekend time. And that’s the happy path where nothing goes wrong.
In our experience, the homeowners who successfully DIY a torsion spring are usually people who’ve done it before, or people who have a friend in the trade standing next to them. Everyone else is gambling their weekend and a couple hundred dollars on a procedure where the feedback for “you’re doing it wrong” is sharp and sudden. That’s not a reasonable bet for most people.
The Sunnyvale Factor: Why Your House Makes This Decision Different
Sunnyvale isn’t just any suburb. It’s a city where the housing stock spans mid-century ranches in Ortega Park, 1970s and ’80s builds in the Cherry Chase corridor, and newer two-story homes up near the 101 corridor. The garage is rarely a standalone utility space anymore. In many Sunnyvale homes, the garage is a workshop, a home gym, a band practice room, or semi-converted living space.
That shift changes the consequence calculus for garage door work. A misaligned torsion spring on a detached barn in a rural area fails loudly and privately. The same failure in a Sunnyvale garage with a finished interior, a Tesla parked inside, and a bedroom directly above means one bad repair can damage property, vehicles, and living space. We’ve seen spring failures that put a winding cone through drywall. We’ve seen door panels that came off their tracks and landed on a car’s hood. These aren’t dramatic retellings. They’re insurance-claim descriptions.
There’s also a code and climate angle. Sunnyvale sits in Santa Clara County, which has seismic retrofit requirements for certain structural elements. Garage door tracks and openers aren’t typically part of the retrofit code, but the way your garage’s framing handles lateral movement affects how your door tracks hold alignment over time. Homes near the San Francisco Bay’s moisture influence (closer to the Alviso side) contend with more rust on springs and brackets than homes further south in the city. Homes out toward the foothills deal with more dust. These factors mean a door that worked fine for years can develop issues that aren’t obvious from a general-purpose YouTube video filmed somewhere with a different climate and a different house style.
If your garage has finished walls with insulation and drywall, any structural work near the door is higher stakes. The last thing you want is to drill into a garage wall and hit a hidden plumbing vent or electrical conduit because the video didn’t account for consolidated wall assemblies common in Sunnyvale’s tract housing.
The Cost Math: When DIY Actually Costs More
DIY garage door work usually starts as a money-saving decision. The math often works out the other way. Let’s run the numbers for two common scenarios.
Scenario 1: Torsion spring replacement
- DIY attempt: $80 – $150 for the spring (if you buy the correct one), $40 – $60 for winding rods, $20 – $50 for calipers and other tools, 4 – 8 hours of your time. Total out-of-pocket: $150 – $260 plus a Saturday. If you buy the wrong spring, add another $80 – $150 and a second attempt.
- Professional repair: $250 – $450 in Sunnyvale for a spring replacement with the correct spring, proper winding, door balance testing, and typically a same-day or next-day completion. The Commodore Garage Door Repair home service model is built around repair-first diagnostics: if a spring can be replaced and the door rebalanced rather than replaced, that’s the recommendation.
The break-even point is real. Add up the parts, the one-off tools, and your hours, and the “savings” from DIY spring work is often under $100. Under $100 to hand off a job that can cause permanent injury. That math only makes sense if you assign your time a value of zero and your fingers a value of zero.
Scenario 2: Opener logic board replacement
- DIY attempt: $100 – $180 for a replacement board from an online parts reseller, but you’re troubleshooting blind. Most logic-board failures look identical to wiring failures, sensor failures, or a dead wall console. Buy the wrong part and you’re $150 in before you’ve fixed anything.
- Professional diagnosis: A technician with brand-specific knowledge across LiftMaster, Chamberlain, Genie, and Craftsman openers can isolate the failure in twenty minutes and replace only the component that’s actually failed. The garage door opener repair work we do in Sunnyvale routinely involves diagnosing issues that homeowners already spent money trying to fix.
The same principle applies to most Tier 3 work. The professional isn’t just bringing labor. They’re bringing the diagnostic experience that prevents the wrong-part purchase, the tools that eliminate the one-off expenses, and a result that doesn’t require a second trip to correct a failed attempt.
Brand Considerations: Why Your Door’s Manufacturer Matters
One detail that gets lost in the DIY conversation is that garage door systems aren’t generic. A Craftsman door from the late 1990s uses different spring sizing, bracket geometry, and track formats than a Raynor door from 2015. A Chamberlain opener pairs its logic board to its specific wall console in a way that a Genie opener doesn’t. These differences matter for three reasons:
Spring sizing: Torsion springs are calculated by door weight, door height, track radius, and manufacturer specifications. A spring that balances a 198-pound Raynor door won’t balance a 240-pound Clopay door, even if both are “standard 7-foot doors.”
Opener force settings: Different openers use different force profiles. A LiftMaster wall-mount unit drives the door differently than a Chamberlain belt-drive. Resetting a force profile wrong can cause the door to reverse unexpectedly or, worse, fail to reverse when it should.
Part compatibility: You can’t always swap a hinge from one brand onto a door from another. The geometry is close enough to look right and wrong enough to bind rollers and wear out tracks prematurely.
This is why we built our service around multi-brand fluency. Technicians who only know one brand well tend to default to replacing whatever they’re not familiar with. That’s not the right answer for a homeowner with a door that’s still in good shape but has a failing spring or a bad sensor. “Fluent in what you already own” isn’t a marketing line. It’s a repair philosophy that saves Sunnyvale homeowners money.
When you’re evaluating whether to DIY or call someone, factor in the brand question honestly. If you know your door’s make, model year, and weight, you’re ahead of the curve. If you don’t, you’re likely to buy a one-size-fits-all part that fits nothing well.
Common Mistakes to Avoid
- Using the emergency release while the door is up. Pulling the red cord while the door is open disconnects a 300-pound panel from its counterbalance. The door will crash down. Always release the door in the closed position, unless the door is stuck and you’ve secured it with locking pliers on the track first.
- Lubricating nylon rollers with grease. Nylon roller wheels don’t need grease on the wheel surface. Grease attracts dust, which in Sunnyvale’s dry months creates an abrasive paste that eats the wheel. Only lubricate the metal stems.
- Adjusting the torsion spring a “half turn” to fix a door that’s hard to open. Adding torque to a spring without knowing its current quarter-turn count can over-tension it past its rated capacity. That’s the failure mode that snaps cones and shoots bars.
- Ordering a spring by “door size” only. Door width and height aren’t the same as door weight. Two 16×7 doors can differ by 100 pounds depending on construction material. A spring sized by guess is a spring sized wrong.
- Ignoring a door that’s heavy at one side. A door that looks level in the closed position but binds on one side during travel has a track or cable issue developing. Waiting until it fails completely often means a door off its track, which is a bigger repair than the original problem.
- Replacing the opener when the real problem is the door. If the door’s balance is off, the opener strains on every cycle. A new opener on an unbalanced door fails early, like putting new tires on a car with bad alignment. Diagnose the door first.
- Skipping the balance test after any repair. Whether you or a professional did the work, a 30-second test (close the door, release, lift to waist height, let go) verifies the system is actually balanced. If a “professional” leaves without testing balance, that’s a red flag.
See the difference
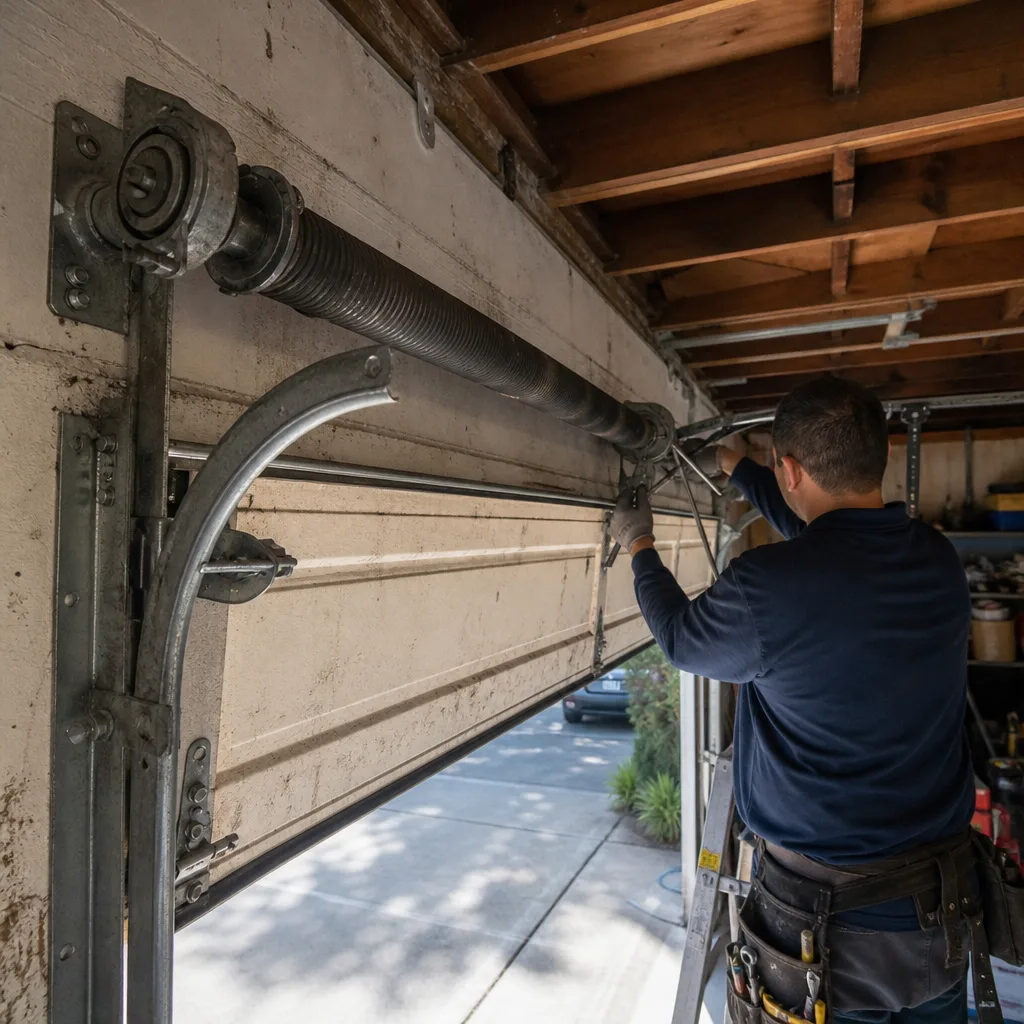 Before
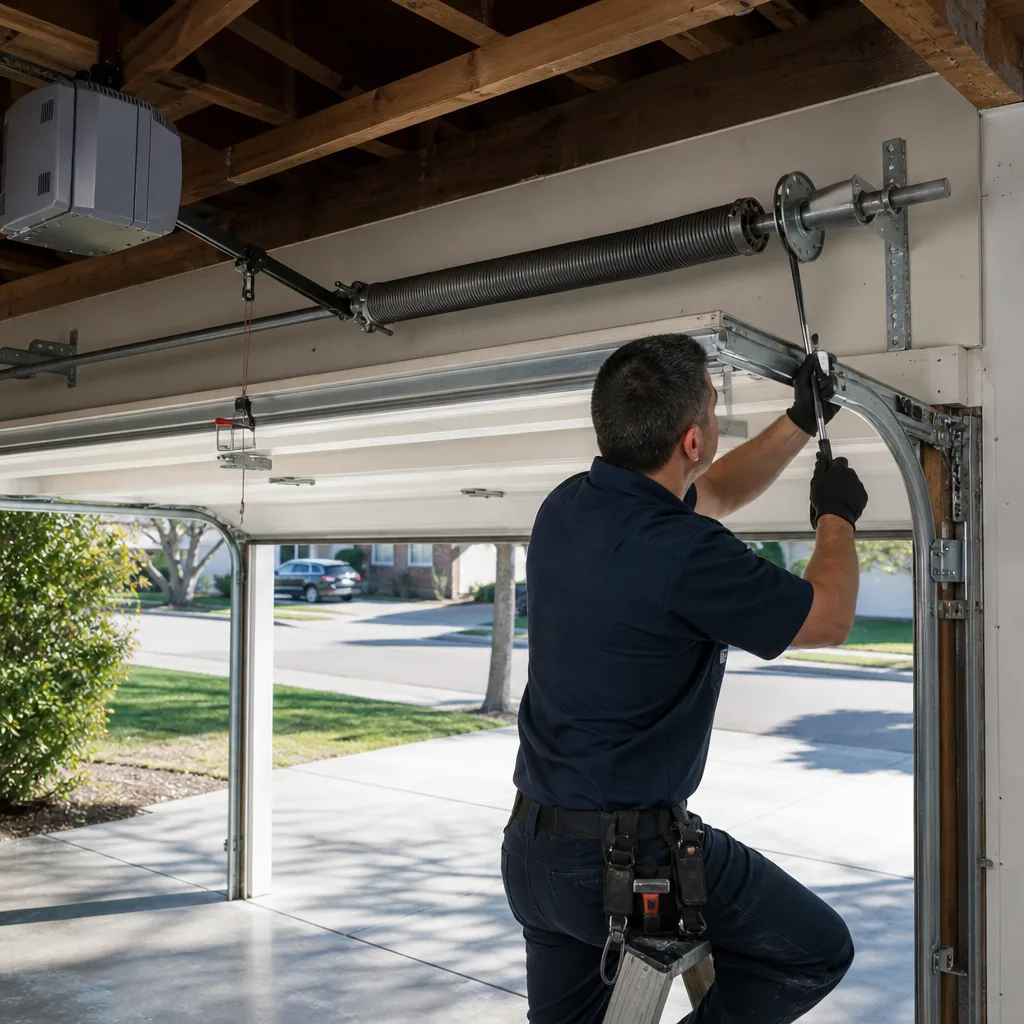 After
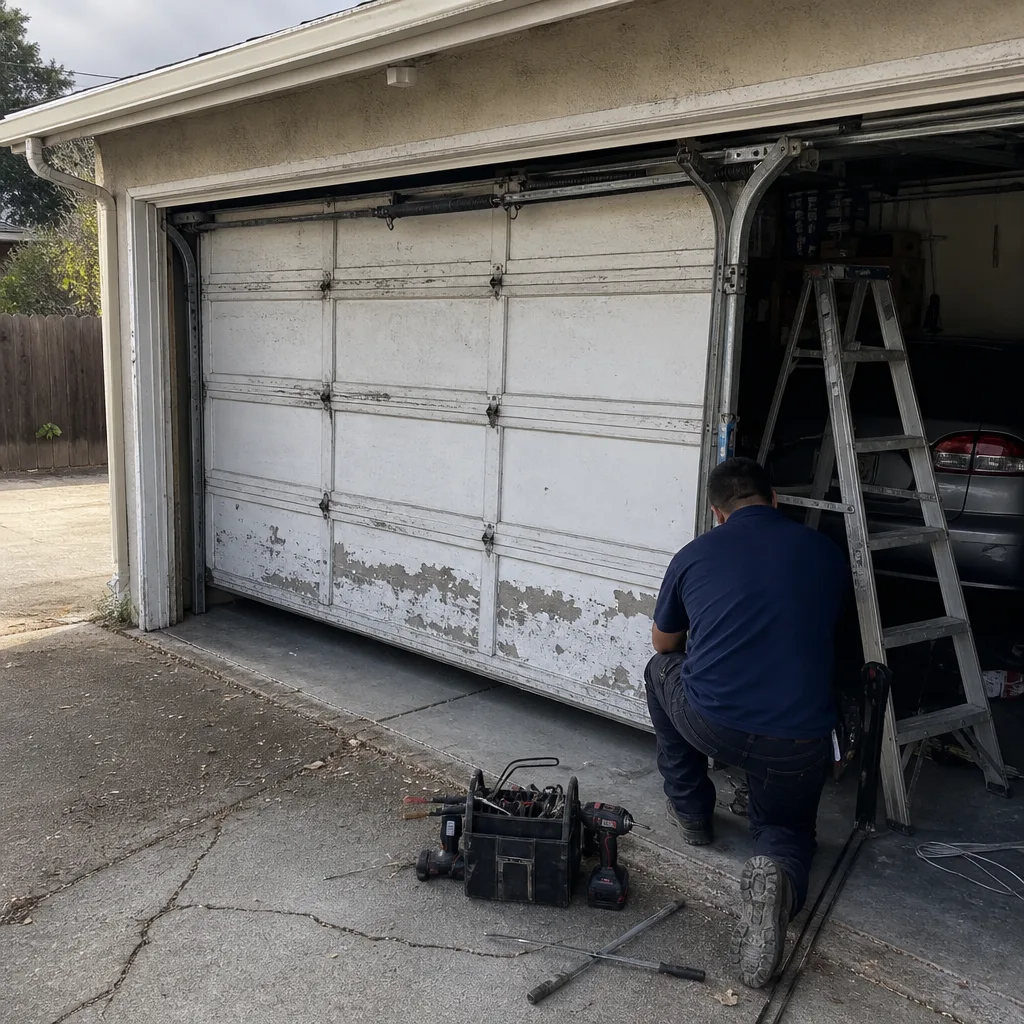 Before
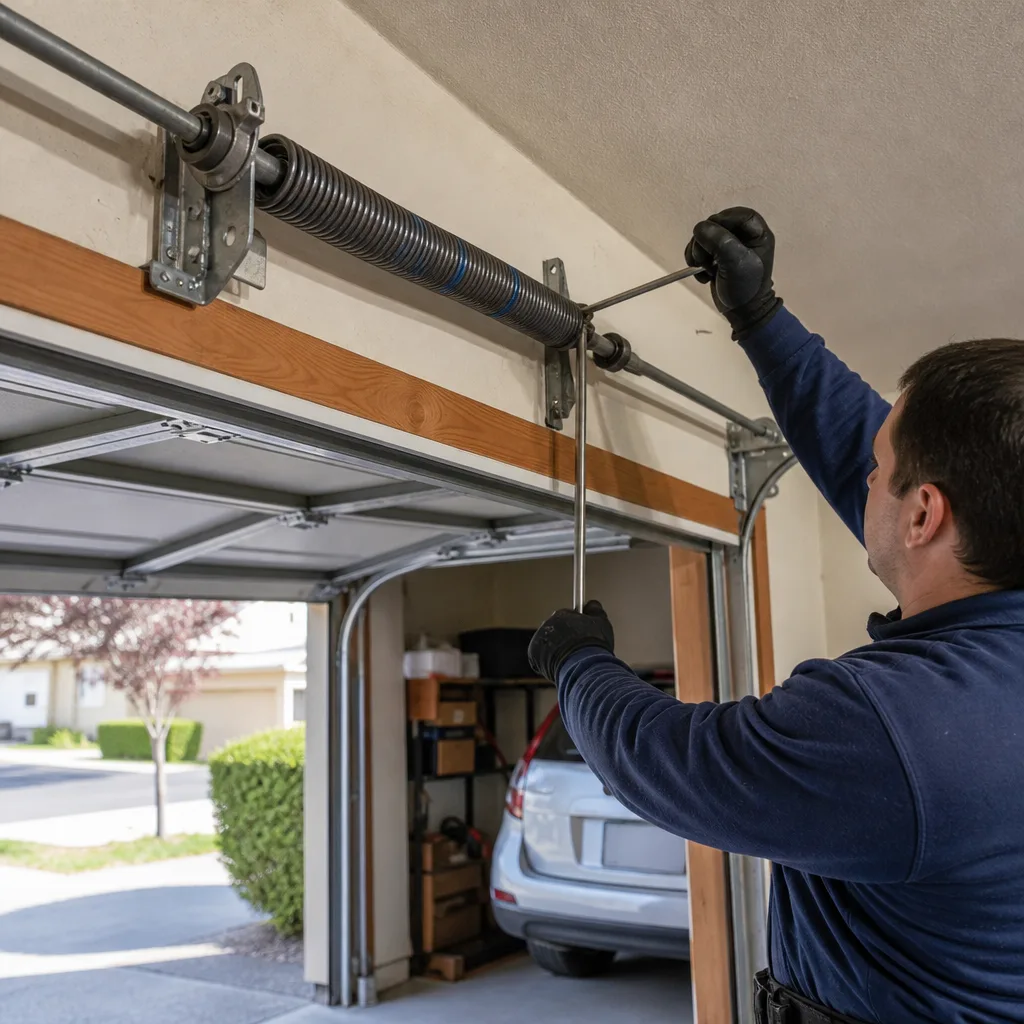 After
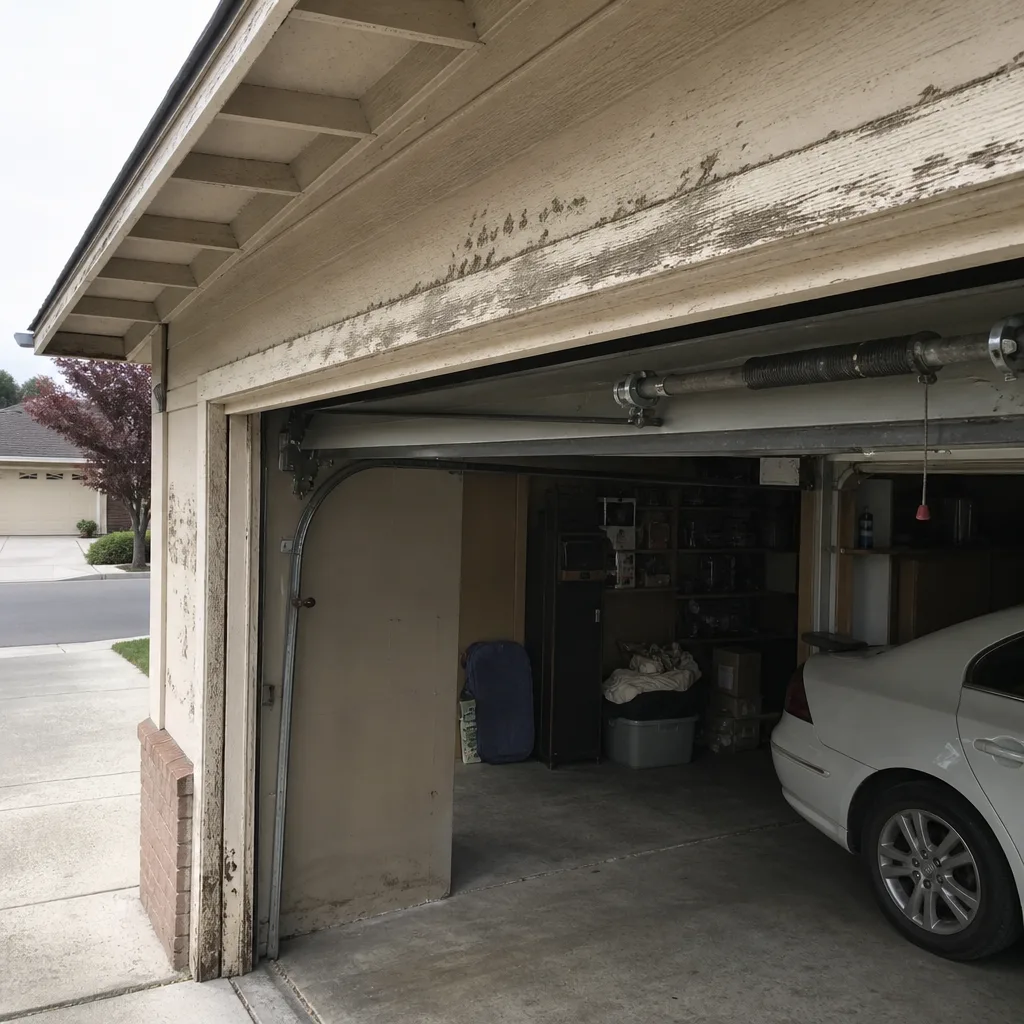 Before
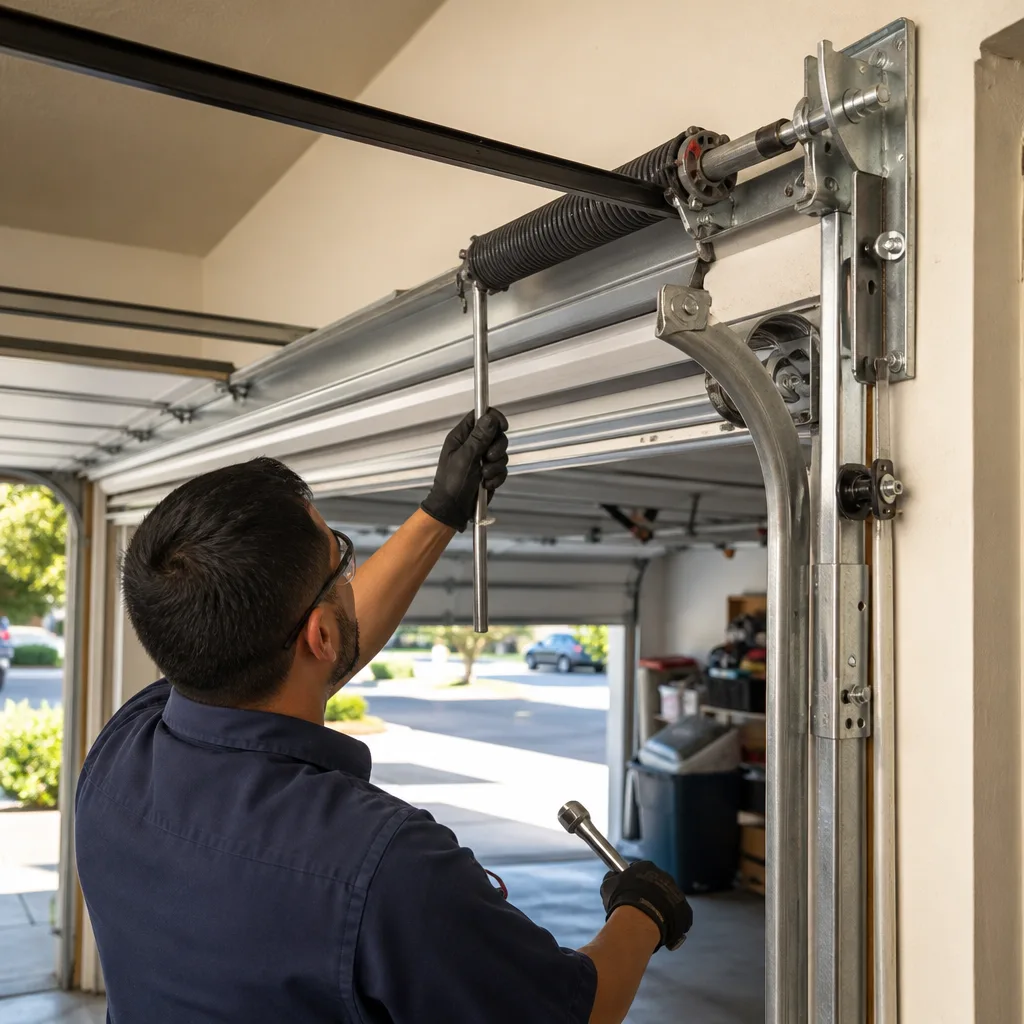 After
When to Call a Professional
Call a professional when the component involves stored mechanical energy (springs, cables), when the door has come off its track, when the opener is misbehaving in ways that suggest a board issue rather than a battery, or when you’ve already made one attempt and the problem persists. These are the scenarios where a second wrong attempt compounds the cost and the risk.
Sunnyvale homeowners have decisions to make here that are different from someone in a rural setting without service availability. The trade-off between DIY and professional isn’t just about money. It’s about time, safety, and the fact that a wrong spring or a misaligned track in a finished garage with a car parked inside has real consequences. Commodore Garage Door Repair offers free estimates in Sunnyvale, and our approach is repair-first: we diagnose the specific failure, present the options, and let the homeowner decide. For more guides & resources, see our blog. Call (877) 358-3130 if you’re on the fence about a job. If it’s a safe DIY task, we’ll tell you that. If it isn’t, we’ll tell you that too.
Frequently Asked Questions
You can, but you’re working with a component that stores enough torque to break bones or cause permanent hand injury if the winding procedure goes wrong. A safe DIY spring replacement requires solid-steel winding rods, calipers for accurate wire measurement, the correct left-hand or right-hand spring matched to your door’s exact weight, and experience with quarter-turn winding sequences. We recommend having a professional handle torsion springs unless you’ve done it before under supervision. The cost difference between DIY and professional spring replacement is often under $100 once you account for tools and the risk of buying the wrong spring.
Torsion spring replacement in Sunnyvale typically runs between $250 and $450, including the spring and labor. The exact price depends on your door’s weight, spring size, and whether both springs need replacement (doors with two springs should have both done at once since they wear at the same rate). It’s the most common repair we handle, and the job usually takes under two hours from arrival to completed balance test.
Photo-eye sensor realignment, lubrication of rollers and hinges, remote and keypad reprogramming, bottom seal replacement, and battery swaps are all safe for a careful homeowner. These tasks involve no stored energy and minimal precision risk. The balance test described above is also safe and is the best starting point for diagnosing a door that’s acting up. If you’re near Sunnyvale and want a second opinion before starting, give us a call and we’ll walk through what we’d check first.
Three warning signs: the door feels noticeably heavier when you lift it manually (after pulling the release), you see a visible gap in the spring coil, or the door struggles to open and stalls partway with the opener straining. A spring that’s showing any of these signs is on borrowed time. Springs don’t have a graceful failure mode. They typically snap when the door is down, which is why a snapped spring often coincides with a door that refuses to open the next morning.
We service doors and openers from Clopay, Amarr, Wayne Dalton, Raynor, Craftsman, LiftMaster, Chamberlain, and Genie. That covers most of what’s installed in Sunnyvale homes. Our repair-first approach means we diagnose and fix what you already have, including opener repairs across the major brands, rather than pushing a replacement unless the component has genuinely failed beyond repair.
Most repairs, including spring replacement, cable replacement, and sensor systems, are completed in a single visit of one to two hours. We stock the common springs, cables, and parts on the truck, so there’s no waiting on a parts order for standard jobs. Full door installations take longer (typically half a day) because they involve removing the old door, fitting the new panels, and rebalancing the entire system. Call (877) 358-3130 and we’ll give you an honest time estimate for your specific situation before any work starts.
The Bottom Line
The DIY vs. professional garage door decision in Sunnyvale comes down to risk classification, not ego. Low-energy tasks like sensor alignment, lubrication, and seal replacement are genuinely appropriate for a careful homeowner and worth doing yourself. High-energy components like torsion springs and lift cables are categorically different: they store force that can cause permanent injury, and the cost savings from DIY often disappear once you buy the right tools and the right spring. Add in Sunnyvale’s finished garages, expensive cars, and attached living spaces, and the stakes only go up. When in doubt, diagnose first, spend on professional help for the dangerous stuff, and keep your weekends for the parts of the house that forgive mistakes.
Written by the team at Commodore Garage Door Repair, serving Sunnyvale since 2015.
Need a garage door repair in Sunnyvale? Call Commodore Garage Door Repair at (877) 358-3130 for a free estimate.